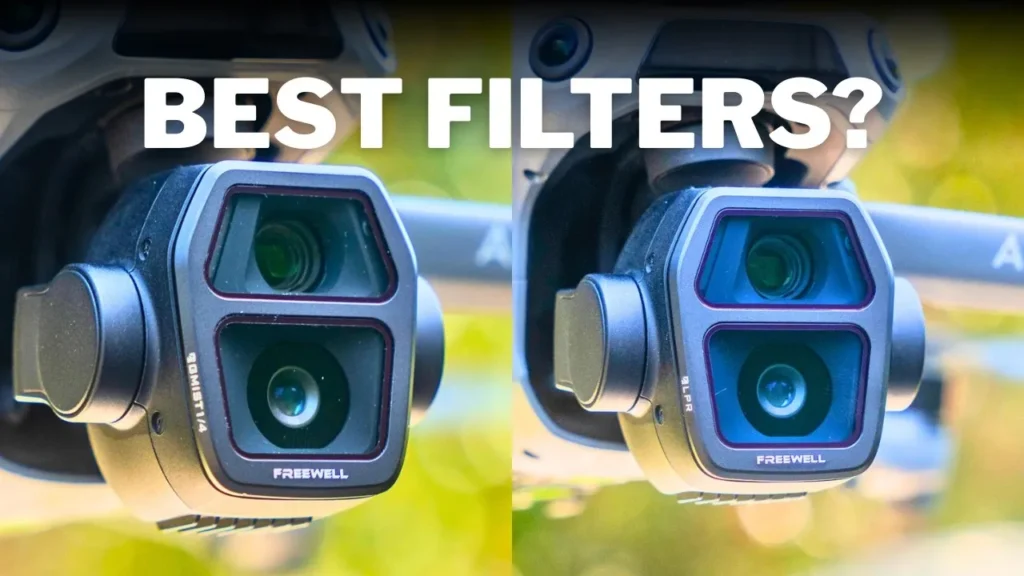
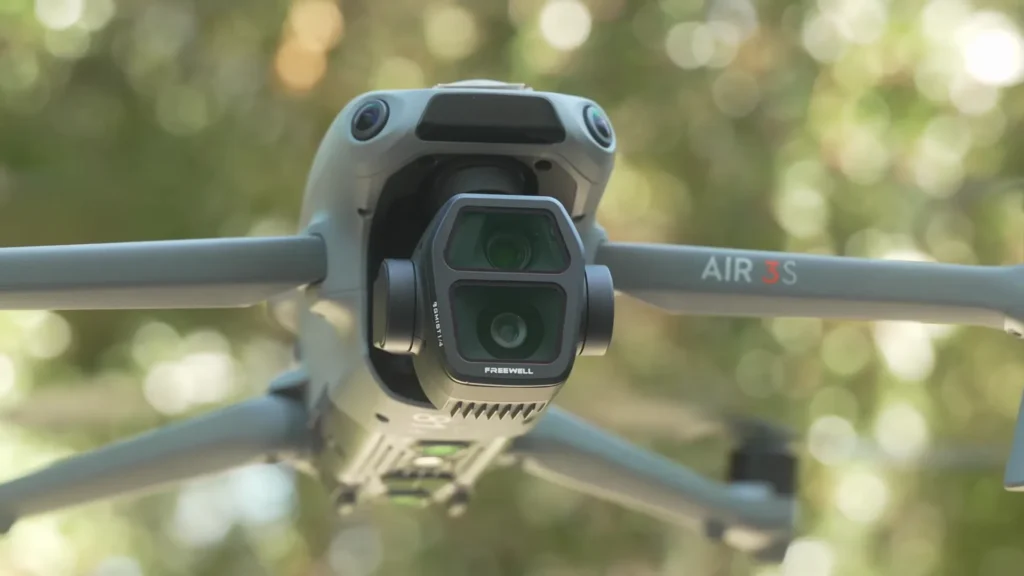
In today’s article, we’re diving into Freewell’s LPR (Light Pollution Reduction) and Mist filters for the DJI Air 3S, my favorite DJI drone by far. This drone captures incredible photos and videos right out of the box. But just like with traditional cameras, accessories can elevate your work to the next level. That’s where these filters come in.
While this video isn’t sponsored, Freewell did send me these filters a while back. I’ve only recently had the chance to put them to the test. Let’s explore what these filters actually do and whether they’re worth adding to your toolkit.
What’s in the Box?
Both the LPR and Mist filters are available individually or as part of a kit bundle. I have the DJI Air 3S version, though these filters are also available for the Air 3, Mini 4, and the newly released Mavic 4 Pro. I know many viewers from the US are struggling to get their hands on the Mavic 4 Pro. It’s a bit of a show right now, so if you managed to get one.
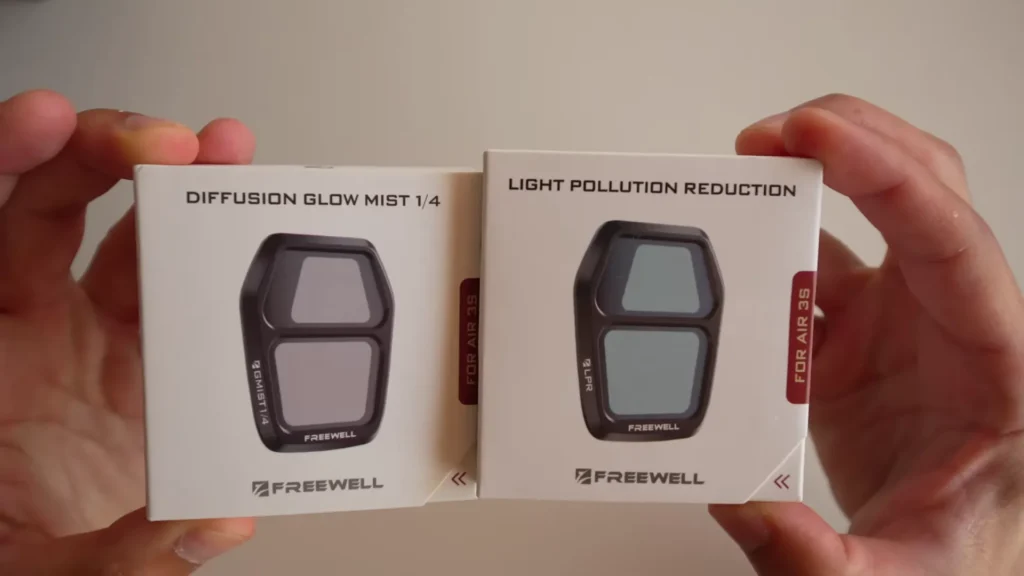
Each filter comes in a sleek little box with a magnetic flap though the purpose of that is unclear since they’re already housed inside a padded case. The flap shows installation instructions, which are straightforward: twist and lock. You’ll also find some stickers and a cleaning cloth always handy.
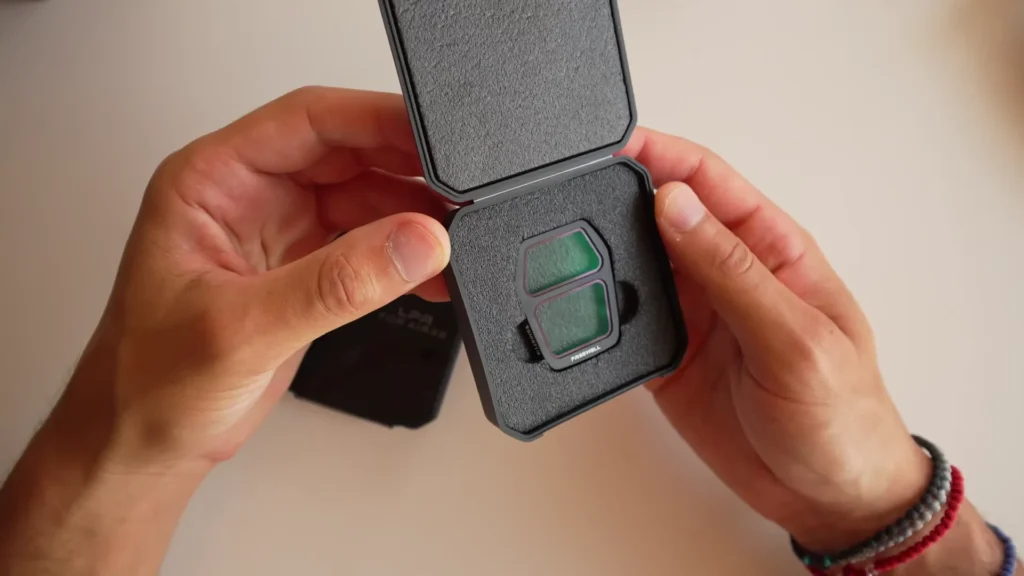
Inside the case, the filters are slim and noticeably thinner than DJI’s official versions. Unlike DJI’s filters, they don’t feature metal contacts. The only time this has mattered is when attaching the wide-angle lens; features like panorama mode may give a heads-up saying “wide-angle lens attached.” Other than that, I haven’t noticed any drawbacks.
What Are the LPR and Mist Filters?
LPR stands for Light Pollution Reduction. This filter enhances night sky clarity by minimizing artificial light interference, improving contrast, and capturing sharper, more vibrant nighttime shots. It’s especially useful in urban or suburban settings and is effective at reducing the orange tint from streetlights.
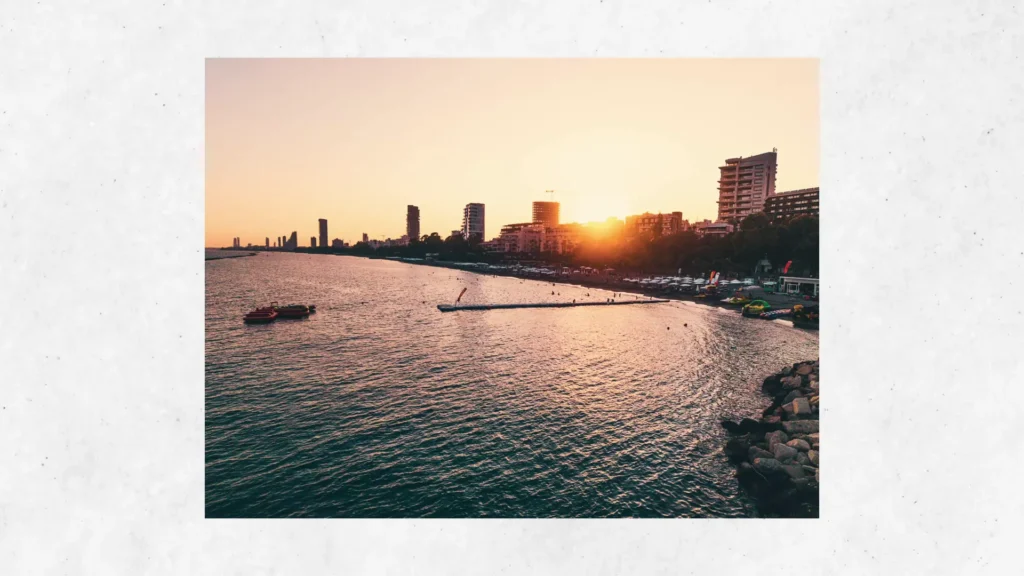
The Mist filter, specifically the 1/4 diffusion glow mist, softens highlights, reduces contrast, and adds a dreamy cinematic glow. It helps balance strong light and contrast, making it ideal for daylight filming or capturing smooth skin tones in portraits even with a drone.
Recently, I’ve started taking more self-portraits using the drone. It’s faster to set up than a camera and tripod, and having a screen helps with composition.
Use Cases for LPR and Mist Filters
Let’s start with the Mist filter. If you follow my channel, you know I love that dreamy mist effect. Most of my B-roll is shot using KN&F’s VND 22–400m filter with this style. So naturally, I gravitated toward using the Mist filter on the DJI Air 3S especially at night.
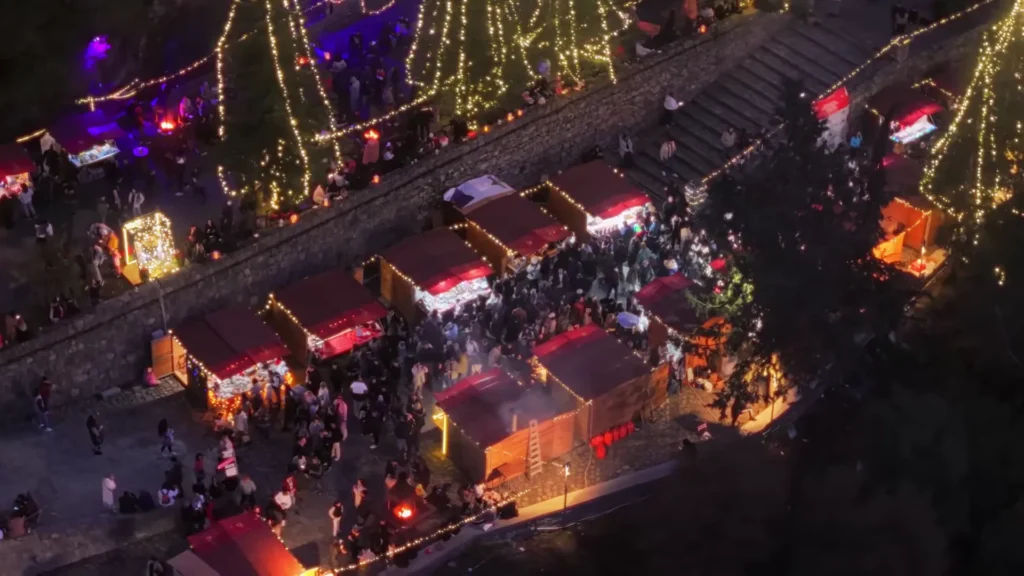
I used it extensively while filming Christmas villages here in Cyprus. It adds a magical glow around lights that I personally love. But remember, these filters are creative tools there’s no right or wrong, just preference.
Now, the Air 3S doesn’t support a VND mist combo, which means you can’t shoot with full manual exposure using the 180-degree shutter rule. Instead, keep the settings on auto and adjust exposure to -0.3 or -0.7 when in bright sunlight.
As for the LPR filter, I didn’t fully test it until recently, but my earlier experience with the Air 3 confirms it works well. It significantly reduces the orange hue that plagues many night shots, especially common here in Cyprus. Use it in manual mode at night, or stay in auto with a slight exposure drop to focus on framing your shot.
Side-by-Side Comparisons
Let’s look at some comparison shots to see these filters in action. First up is a basic shot of the backyard no flying involved. On the left: no filter. On the right: LPR filter. During daylight, LPR gives noticeably cooler tones. Switching to the Mist filter, however, shows less obvious changes unless facing the sun. That’s when the halation becomes more apparent.
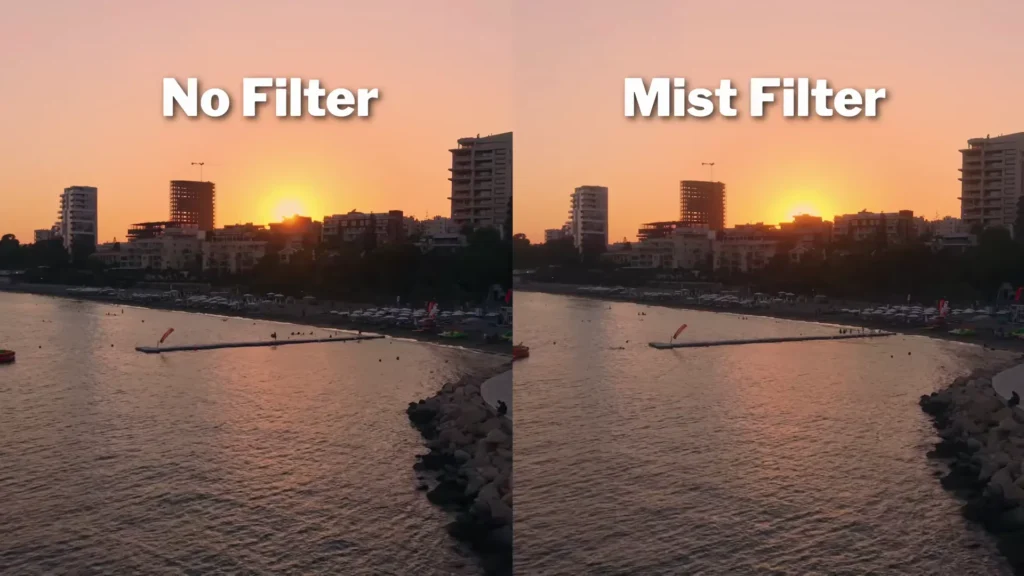
Zooming into areas like playgrounds or building rooftops reveals that the Mist filter softens the image slightly. In another example, a sunset field shot showed a beautiful glow with the Mist filter compared to a raw, unfiltered version truly stunning after editing.
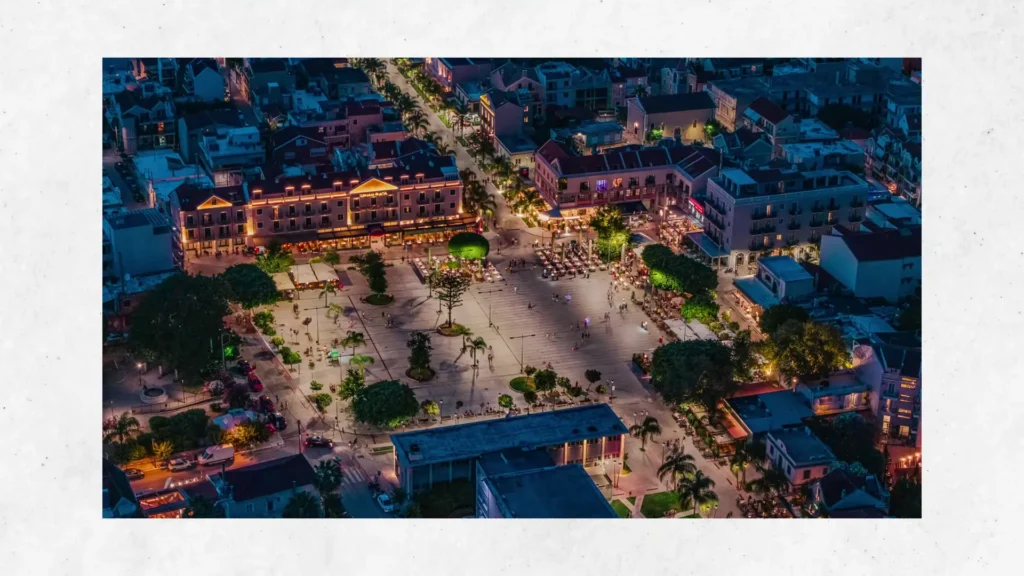
Night shots show more dramatic effects. The Mist filter adds glow to building lights and street lamps, particularly around tennis courts and walkways. It makes the footage feel warmer and more cinematic.
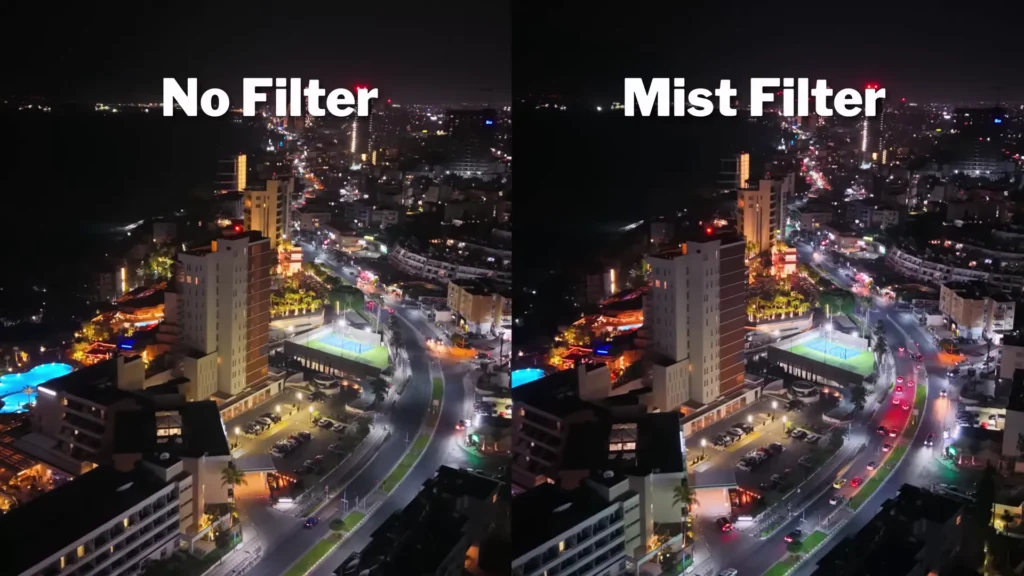
For the LPR filter at night, the change is undeniable. Tones become cooler and more natural, removing that harsh orange hue. Roads, skies, and even distant lights look clearer and cleaner.
Recommended Scenarios
Here’s how I would use each filter going forward:
- Mist Filter: Best for golden hour or backlit scenes like sunlight through trees or reflections off buildings, cars, water, and glass. Also great for drone portraits to soften contrast and smooth skin.
- LPR Filter: A must-have for night flying. It eliminates ugly yellow-orange tints from streetlights, enhances clarity, and cuts through haze especially helpful in humid environments like Cyprus.
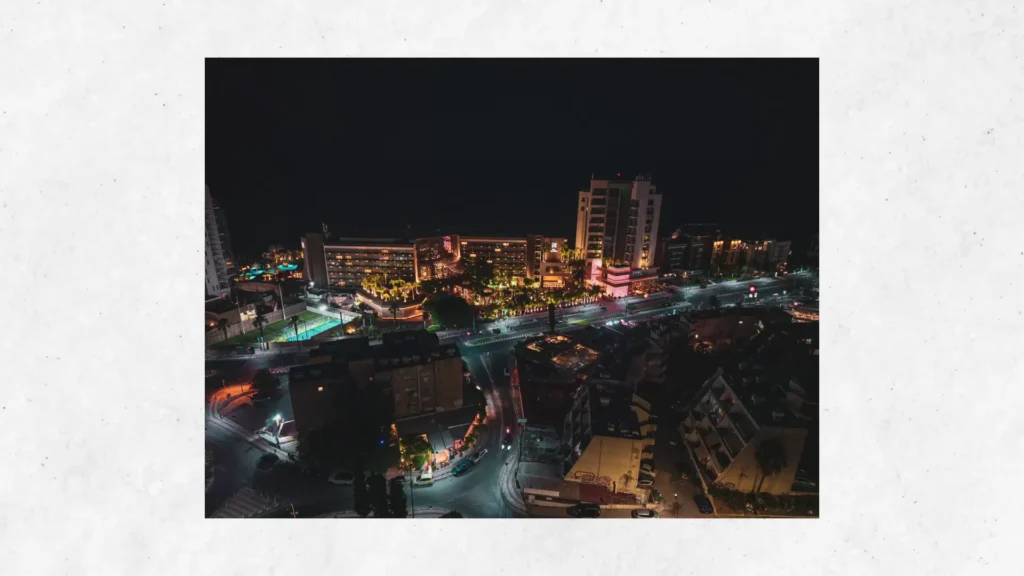
Table of Contents
Article Summary
So, which filter should you get? Let me know your thoughts in the comments. Personally, I like both. These are tools that enhance creativity just like filters for cameras and phones. If I had to pick one, I’d go with the Mist filter. I love the glow effect, especially during golden hour.
Read More: Best Craznick Drone Propellers
Read More: DJI Agras T25 Specifications


