For newcomers and first-time users of the HoverAir X1, this little selfie drone can be quite exciting to fly. However, many of the mistakes I’ll discuss mainly apply to the first version of the HoverAir X1, not the newer Pro versions, which address many of the limitations of the original. Here are 10 Mistakes Every New HoverAir X1 Drone Pilot Makes and you should avoid when using your drone.
Table of Contents
1. Mobile Phone Range
When flying the drone in manual mode, ensure your smartphone remains close to the drone. The app communicates with the drone via a Wi-Fi signal, so keeping them in range is crucial.
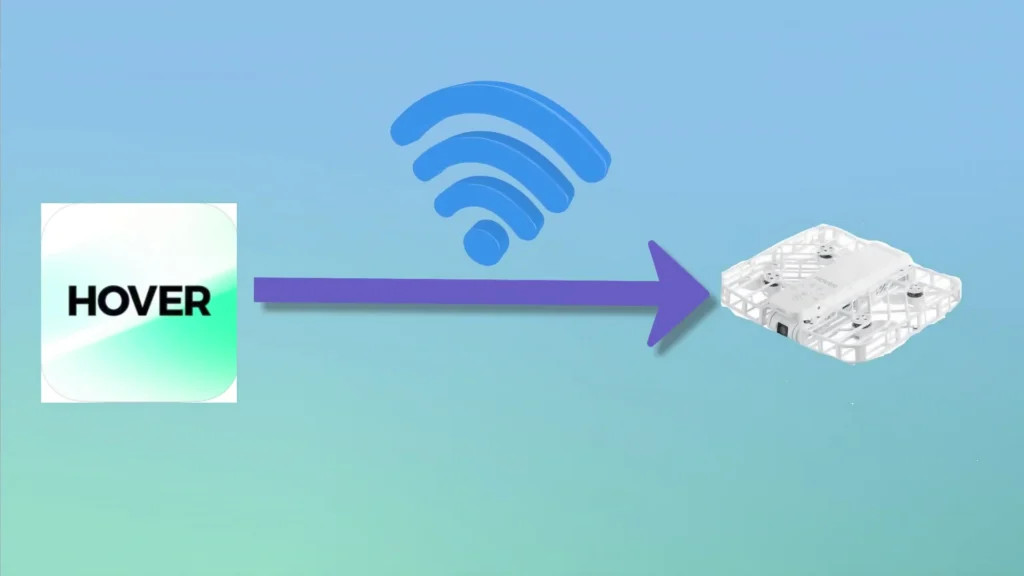
You might wonder what could go wrong. If you’re using the HoverAir special controller, you might set your phone down to free your hands for the controller. If you then wander too far from the phone, you risk losing the Wi-Fi signal. Additionally, if your phone goes to sleep or locks itself, the Wi-Fi connection may be interrupted. This can cause the drone to lose connection and behave unpredictably. Always keep your phone nearby and ensure it stays active while flying.
Recommended Accessories
| Image | Product | Features | Price |
 |
Smart Battery |
Brand: HoverAir |
|
 |
Charging Hub |
Brand: HoverAir |
2. Controller Range
When flying in manual mode using the shock controller, the controller communicates with your phone via Bluetooth, while the phone controls the drone via Wi-Fi. Like before, it’s essential to ensure your phone stays within Bluetooth range of the controller.
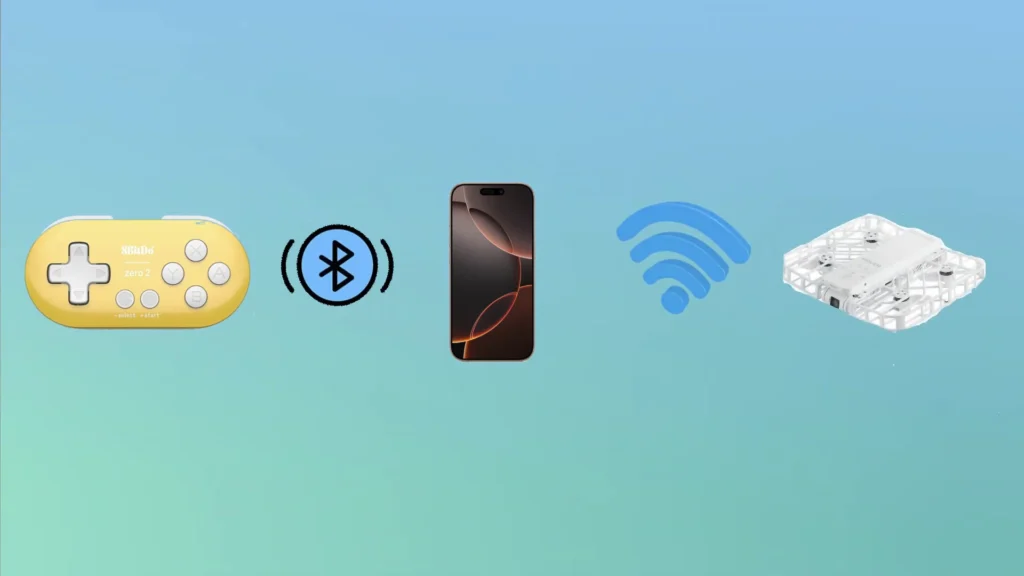
Even if the phone is close to the drone, the Bluetooth range between the controller and phone is limited to about 5 meters. If you wander too far from the phone, the Bluetooth connection can drop, causing you to lose control of the drone. To avoid this, keep the phone and controller within close proximity at all times.
3. Do Not Fly Over Water
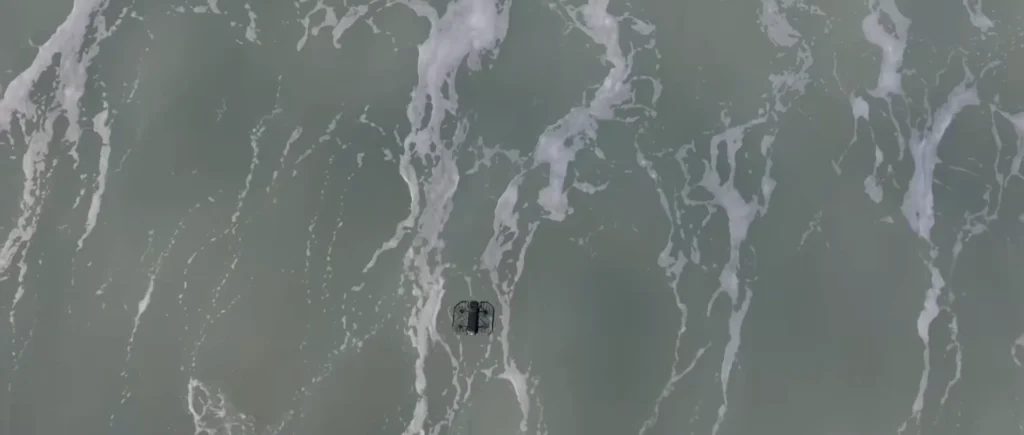
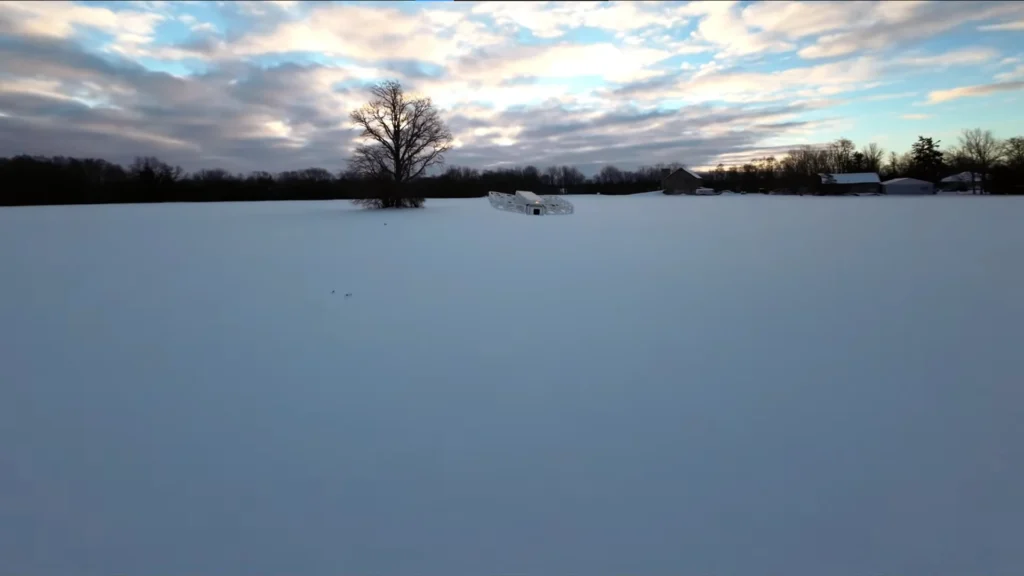
Avoid flying the HoverAir X1 over water or any reflective surface, including snow. When using manual mode, a warning will even pop up to remind you. Reflective surfaces can confuse the height sensor, causing the drone to either become unresponsive, which can be quite alarming or worse, take an unintended dive into the water.
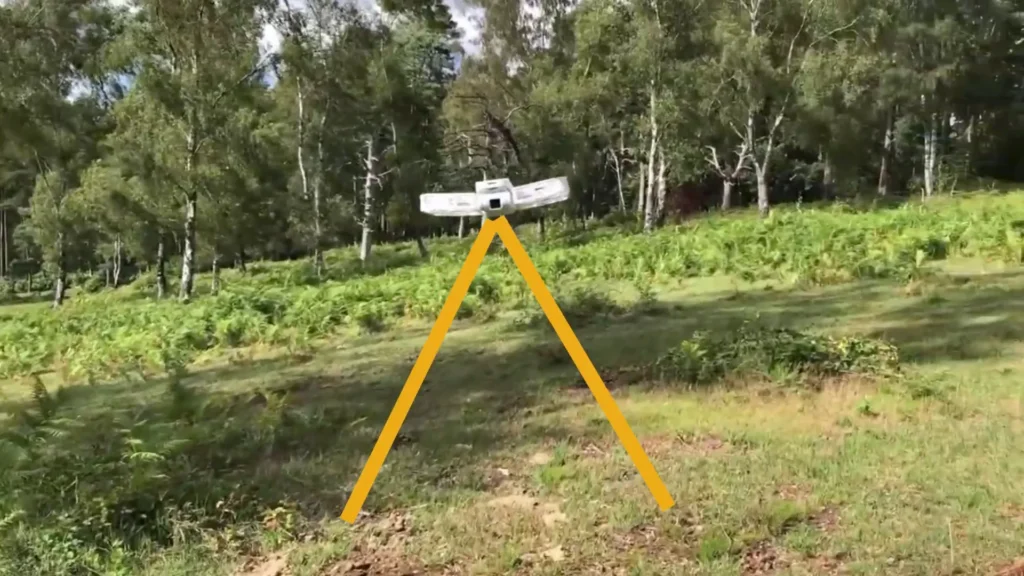
This limitation applies only to the first version of the HoverAir X1. The newer Pro versions, like the HoverAir Pro Max, are designed to handle flights over water without issues.
4. Do Not Fly Over Cliff
Another mistake to avoid is flying the drone over a high drop, such as a cliff or the top of a tall building. The HoverAir X1 (first version) has a height limit of 50 meters. If the drop to the ground exceeds this limit, the drone will lower itself until it reaches its maximum height limit.
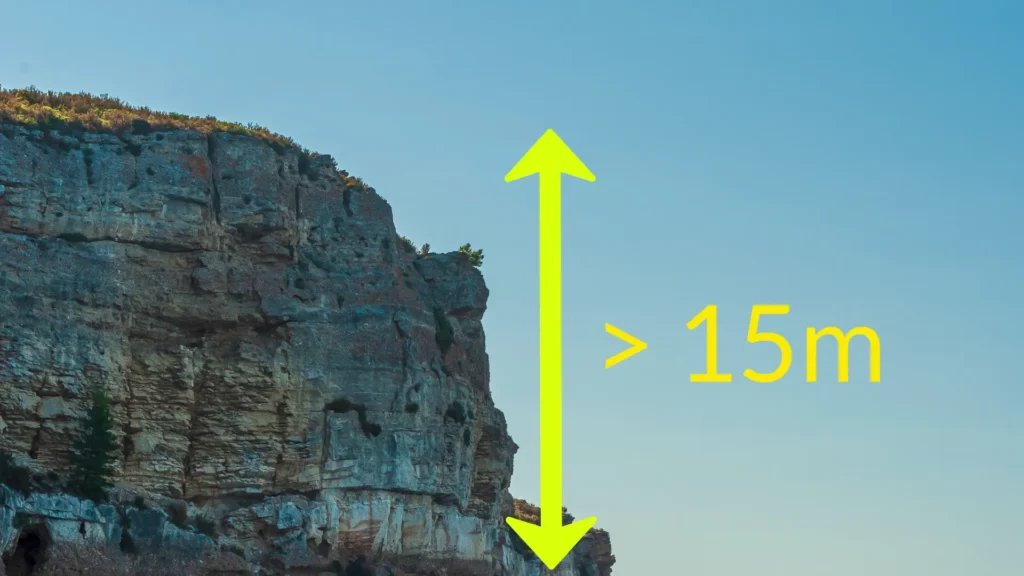
While this might not always end in disaster, if you’re on, say, the 80th floor, you’ll need to get down to the bottom quickly before the battery runs out!
Recommended Accessories
| Image | Product | Features | Price |
|
1
 |
PU Case |
Brand: HoverAir |
|
|
2
 |
Carry Bag |
Brand: HoverAir |
5. Watch the Wind!
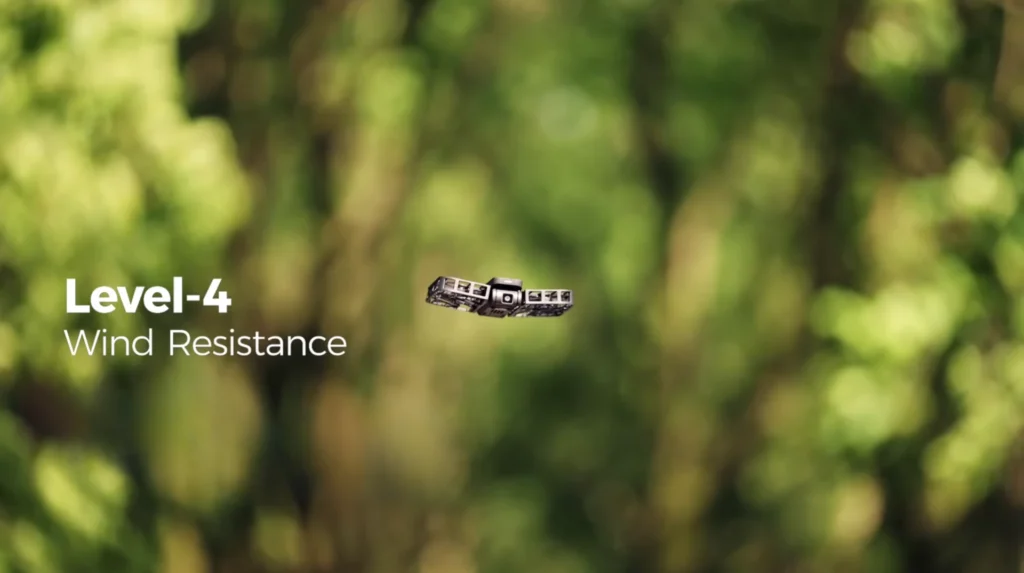
Be mindful of wind conditions when flying the drone. The HoverAir X1 has a Level 4 wind resistance, meaning it can handle light breezes fairly well. However, the higher the drone goes, the stronger the wind becomes. For example, during shots like the orbit where the drone ascends significantly the wind may cause it to drift off course or struggle to complete the shot properly.
In such cases, it’s better to keep automated shots like orbit and follow at lower altitudes if the wind is strong.
Also, exercise caution in large open spaces near cliff edges. Wind can intensify in these areas, and during an orbit shot, your drone might have difficulty returning to you. Always assess the wind conditions and adjust your shot settings accordingly.
6. Short Battery Life
Forgetting that the HoverAir X1 has only about 10 minutes of battery life. It’s easy to get carried away during your manual mode adventures, but don’t send the drone too far when the battery is low.
When the battery runs low, the drone will issue a warning before automatically starting its descent and landing procedure. To avoid complications, ensure it has a safe landing spot where retrieval won’t be a hassle.
7. Check AutoMode Distance
Another common mistake is not checking the distance setting when performing automated maneuvers, such as an orbit or a backward drone shot. Before launching the HoverAir X1, take a moment to assess your surroundings. Look around for potential hazards, like cliff edges or obstacles, and double-check the parameters of the automated move in the settings.
I recommend starting with the minimum distance setting to observe how the drone behaves. Once you’re confident it’s safe, you can gradually increase the distance for more dynamic shots.
8. Check AutoMode Selected
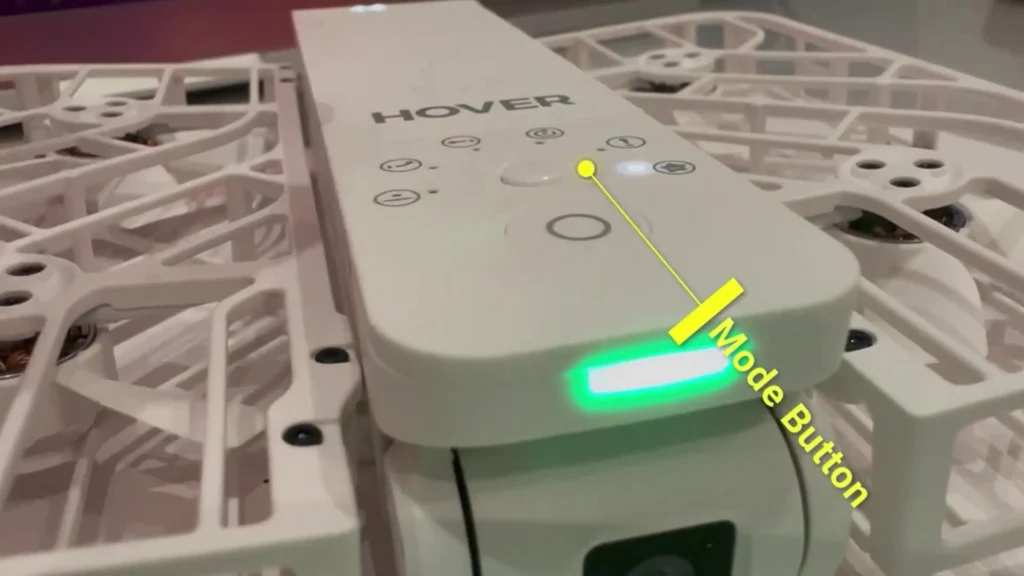
Another potential mistake is not double-checking the automated mode you’ve selected before pressing the launch button. It can be tricky to remember which mode corresponds to which symbol on the HoverAir X1’s interface.
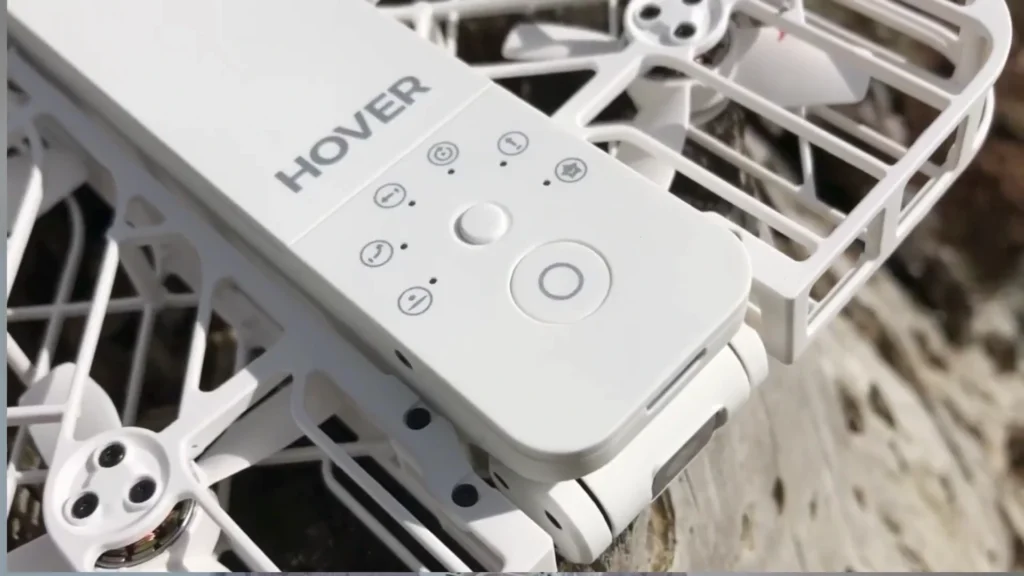
Sometimes, you might think you’ve selected the desired mode but accidentally press the mode button instead of the launch button. If this happens, the drone will happily execute the mode it’s set to but it might not be the one you intended. Always double-check your settings to avoid surprises!
Recommended Accessories
| Image | Product | Features | Price |
|
1
 |
Black Tote Bag |
Brand: HoverAir |
|
|
2
 |
Landing Pad |
Brand: FPVtosky |
9. Appropriate Height / Distance
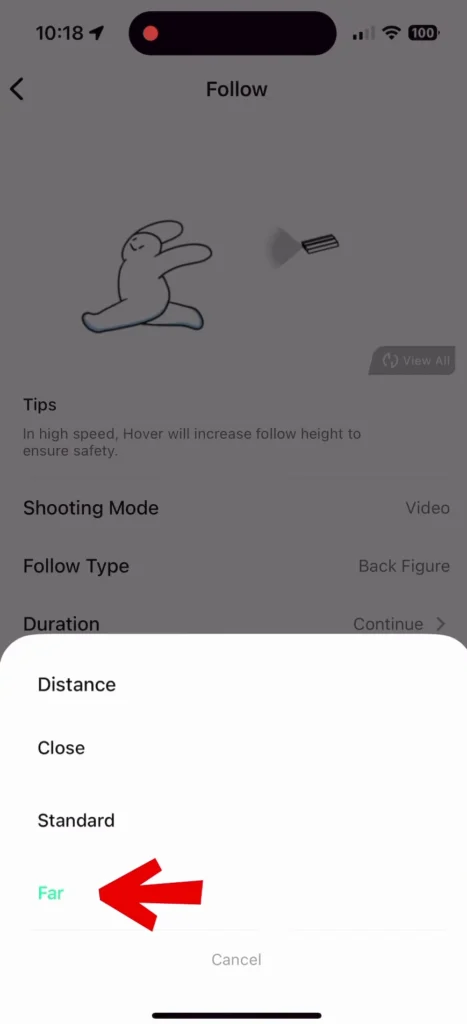
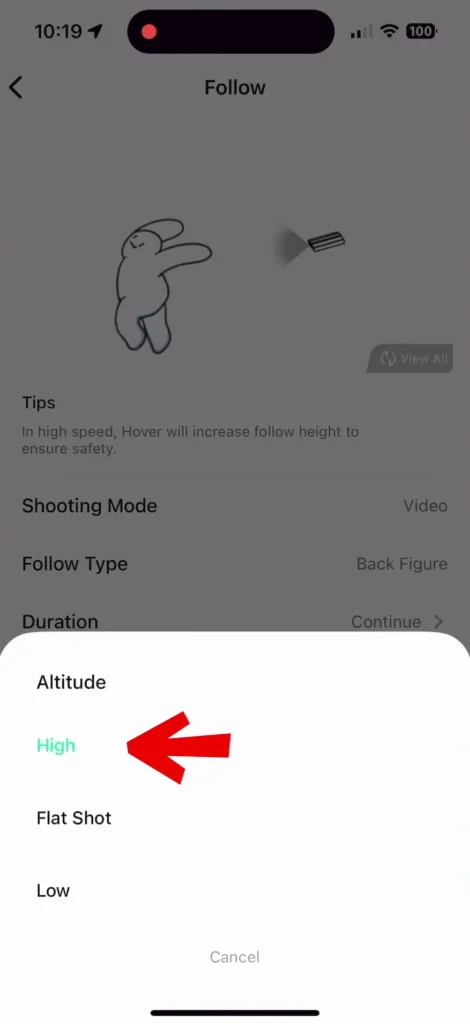
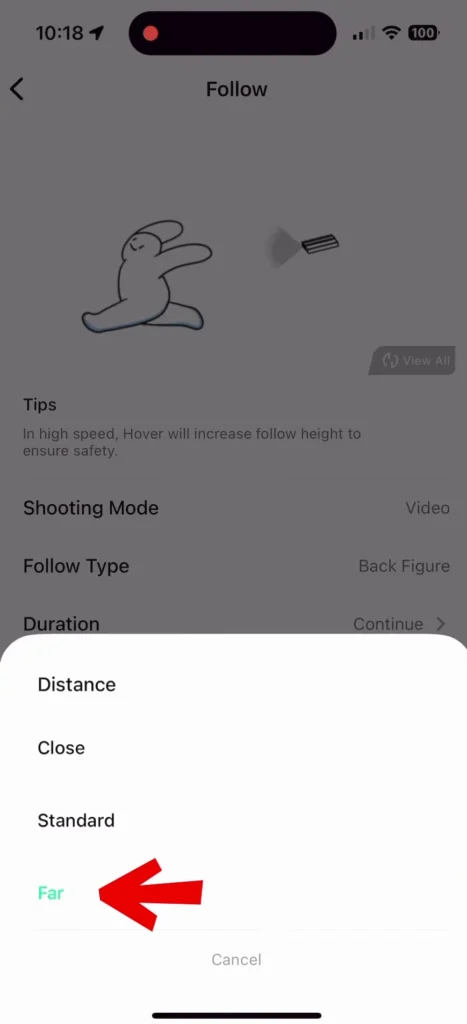
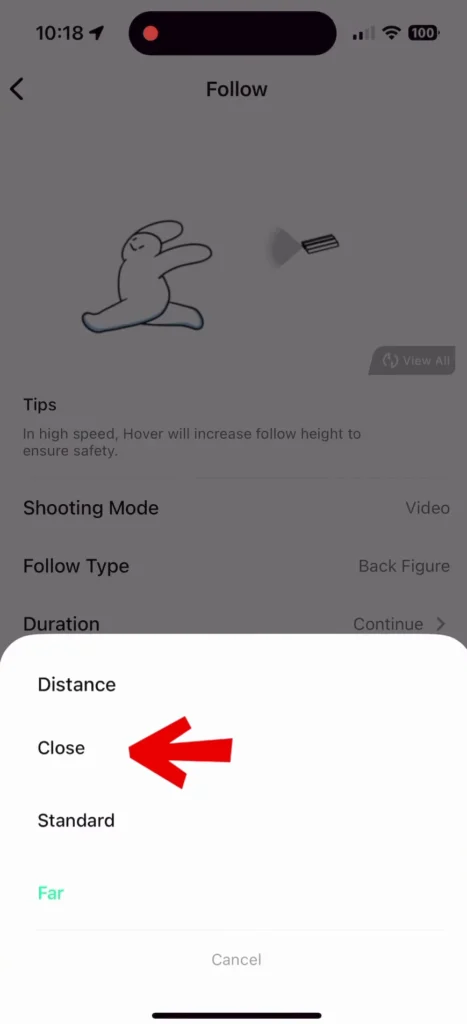
When setting up a follow shot, ensure you choose an appropriate height and distance. On some occasions, you might set the follow height to low and the distance to close, only to find that most of the footage ends up being a tight, close-up shot.
To avoid this, consider adjusting the settings for a more balanced result. I recommend setting the Distance to Standard or Far and the height to Flat shot or high. In my experience, this combination gives the best overall shot.
For More HoverAir X1 Settings Read: HoverAir X1 Best Settings & Advanced Modes
10. No Obstacle Avoidance
Keep in mind that the drone has no obstacle avoidance sensors none at all. There are no sensors on the front, back, or sides. If it’s tracking you from behind and encounters obstacles like branches, it will crash into them without hesitation.
To avoid accidents, ensure there’s adequate clearance in the drone’s path. Adjust the follow height to low or medium based on the height of the branches. Similarly, be extra cautious when navigating through rocks or other significant obstacles.
Read More: BEST TIPS & SETTINGS FOR DJI AIR 3S


