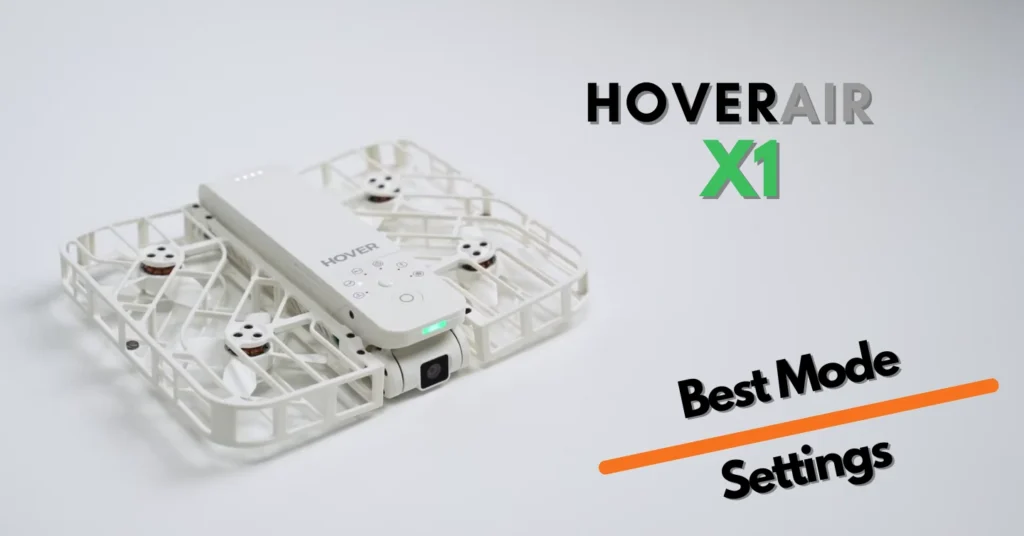
The HoverAir X1 is like a flying selfie stick anyone can fly it. No GPS is required, as it’s all AI-powered. It takes off and lands right from your hand. In this guide, we’ll explore HoverAir X1 Best Settings & Advanced Modes ,features to help you capture the best selfie shots on the go, as well as the best settings for ultimate aerial video shots.
Table of Contents
Orbit Settings
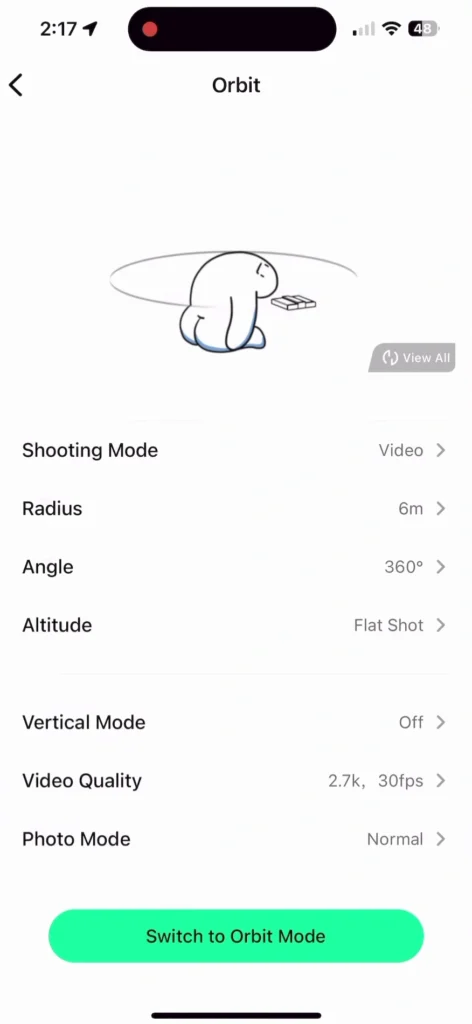
Let’s dive into the HoverAir X1’s orbit shot! If you’re only using the default settings, you might miss out on some more creative angles. The default setting gives you a basic, flat orbit shot, but with a few adjustments, you can make it much more dynamic.
Radius
First, let’s look at the radius settings. You can choose between 1.5, 2.5, 4, and 6 meters. If you want to emphasize the location, increase the radius to 4 or 6 meters. For a tighter focus on you, go with 1.5 or 2.5 meters.
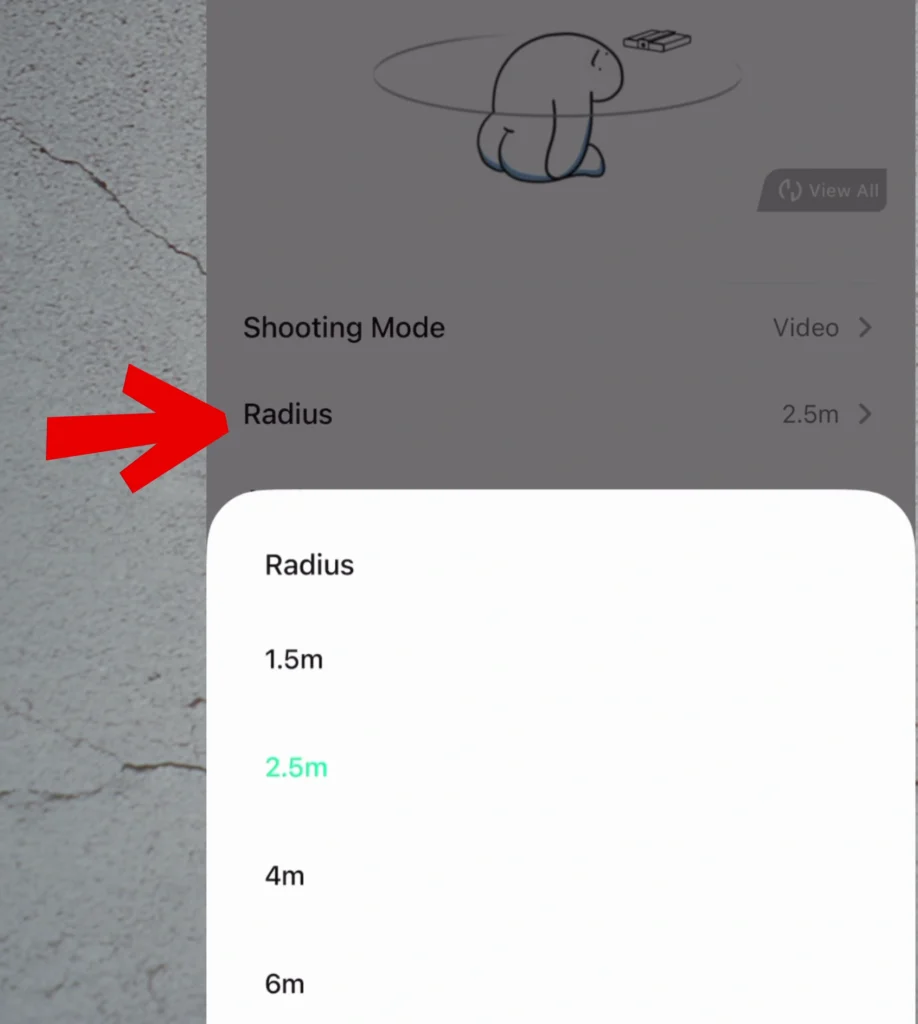
Hover Settings > Flight Settings > Orbit > Radius
Altitude
Now, let’s discuss altitude. For a hero shot effect, set the altitude to “Lower Meter”. If you’re after the classic drone look, go for “Rise 1 meter”.
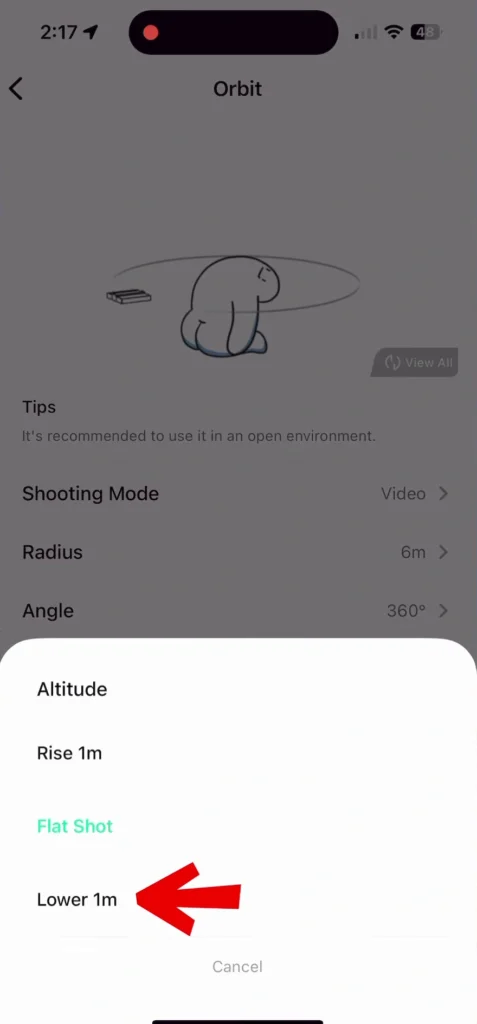
Hover Settings > Flight Settings > Orbit > Altitude
Finally, you can use these clips individually or combine them for a more layered, engaging video.
Zoom Out Settings
Next up is the zoom-out shot! If you select only a short distance with a flat, standard setting, the result will be just okay. But you can we make it better?
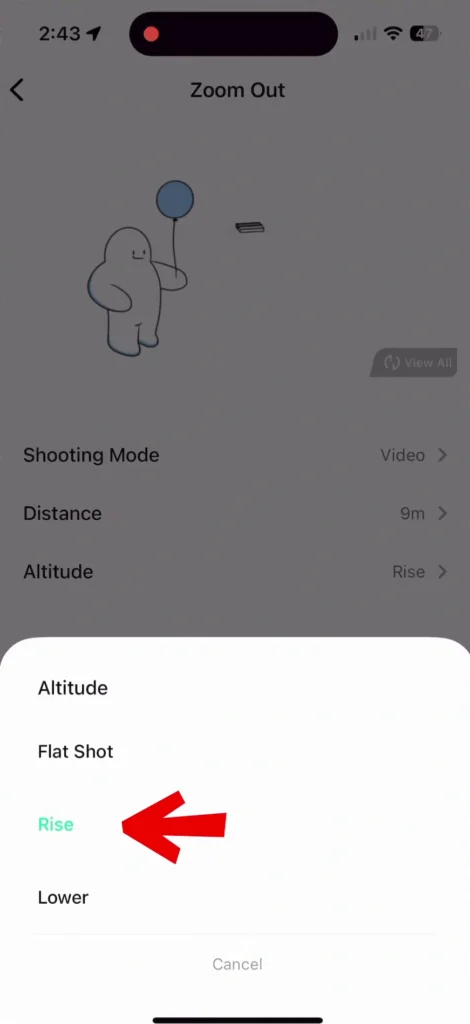
Try increasing the distance to “9 meters” and adjusting the altitude to “Rise”. This change will create a beautiful, more dynamic view, perfect if you’re standing under a tree, in a gazebo, or in front of a charming house.
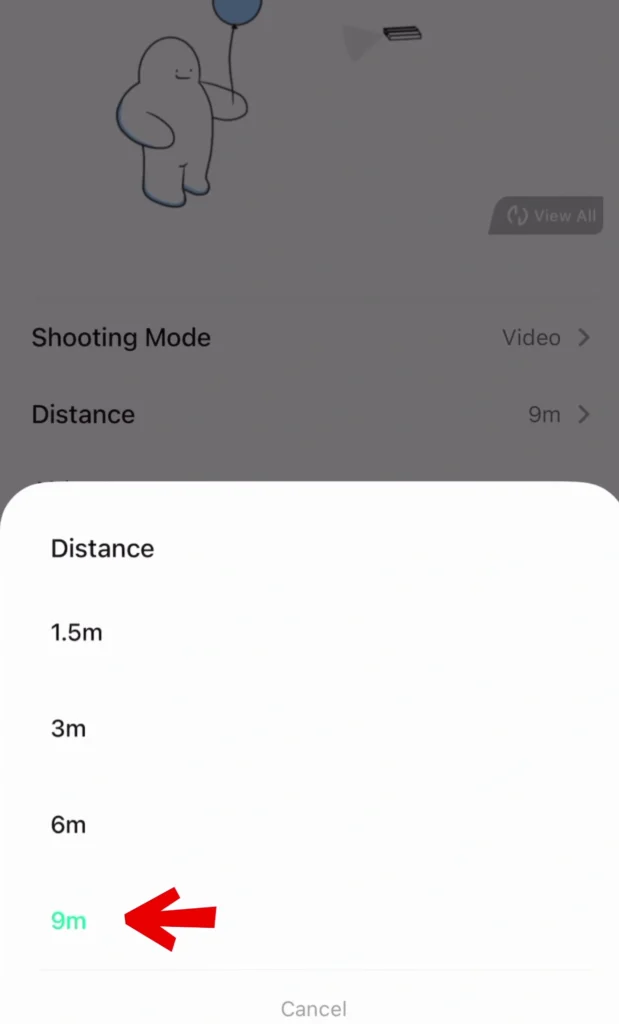
Hover Settings > Flight Settings > Zoom Out > Distance
Hover Settings > Flight Settings > Zoom Out > Altitude
For a similar effect with a twist, set the altitude to “Lower” instead. This variation will reveal what’s above you while keeping you as the focal point.
Recommended Accessories
| Image | Product | Features | Price |
 |
Smart Battery |
Brand: HoverAir |
|
 |
Charging Hub |
Brand: HoverAir |
Zoom In Settings
The next shot is the opposite: the zoom-in shot. Similar to before, if you stick with a short distance and a flat, standard angle, the effect will be just okay not very impactful.
For a more dramatic reveal, I recommend setting a lower altitude with a 9-meter distance. This gives a smooth, revealing effect that really stands out. Alternatively, if you choose a Higher altitude, you’ll get a perfect shot for introducing a new scene or establishing a location.
Hover Settings > Flight Settings >Zoom In > Altitude set to “lower or Rise”
Hover Settings > Flight Settings >Zoom In > Distance set to “9m”
Bird’s Eye Settings
By default, the bird’s-eye shot is just a simple rise from a nearby distance, keeping the camera relatively low. Without an interesting setting, the shot may come across as a bit dull.
To make it more dynamic, start by choosing an eye-catching location. Look for areas with unique shapes like big circles or lines that will look compelling from above.
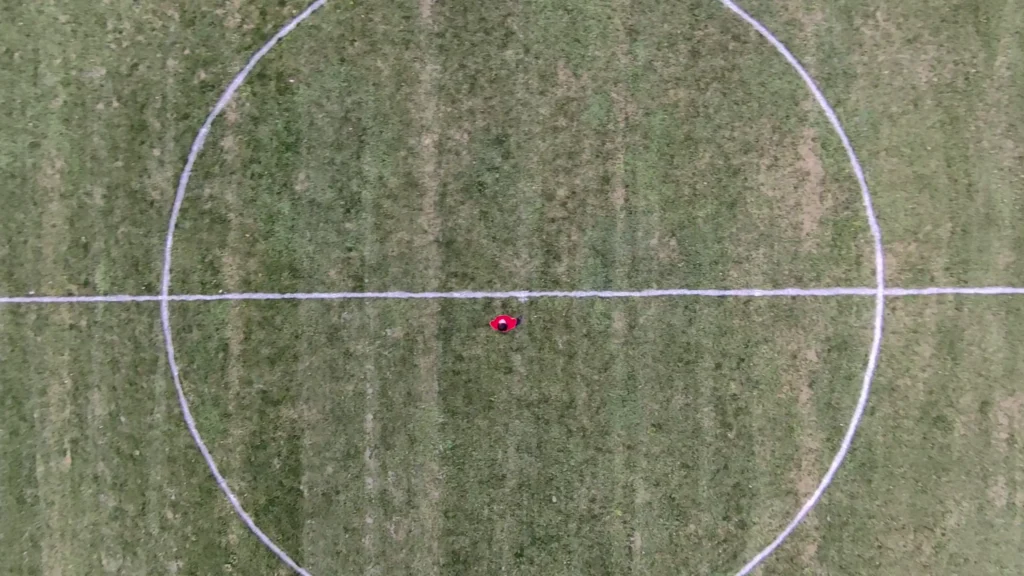
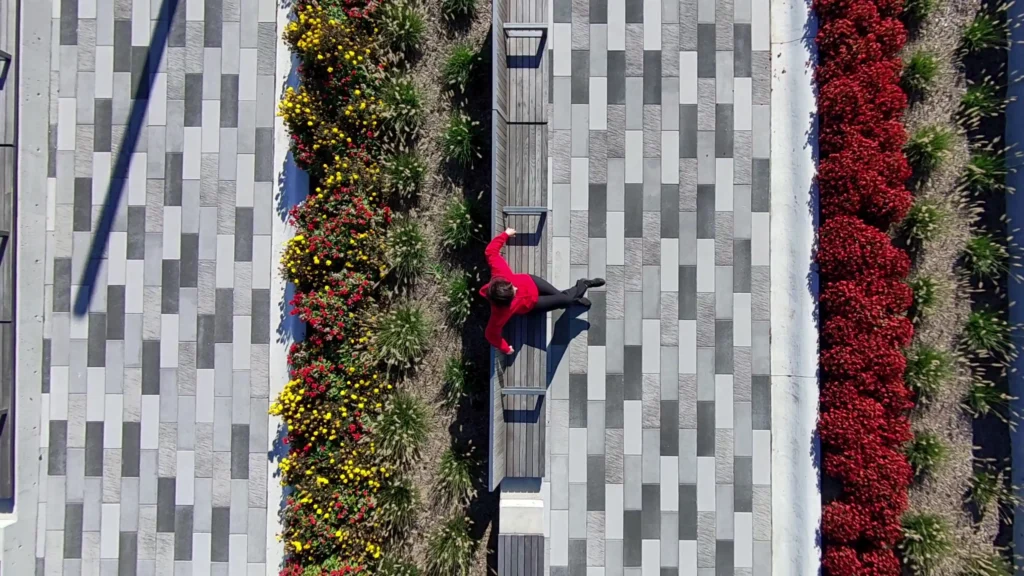
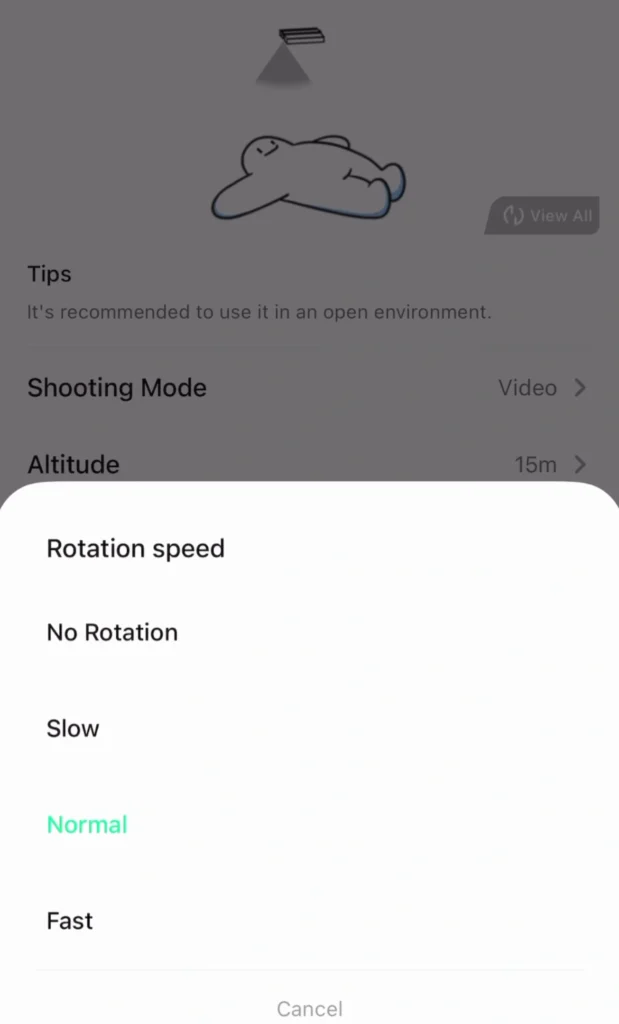
Once you have the location, set the altitude to “15 meters” and add a spin effect. You can select slow, standard, or fast spin. This effect works especially well with locations featuring straight lines, as it creates a visually engaging shot from above. The key is choosing the right location to make the shot truly stand out.
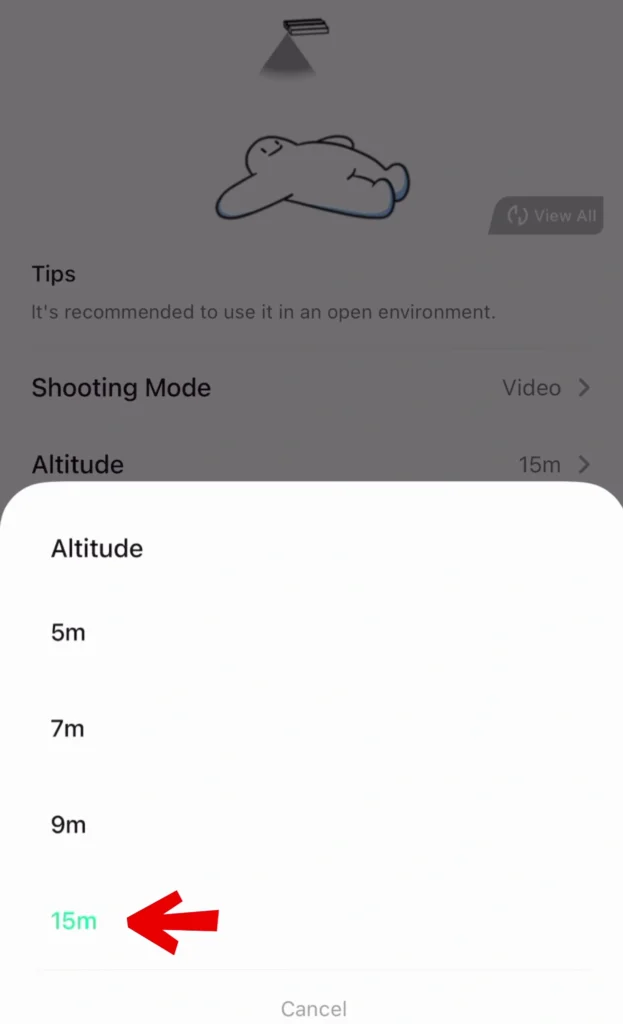
Hover Settings > Flight Settings > Bird Eye > Altitude set to “15m”
Hover Settings > Flight Settings > Bird Eye > Rotation speed set to “Slow or Fast”
Recommended Accessories
| Image | Product | Features | Price |
|
1
 |
PU Case |
Brand: HoverAir |
|
|
2
 |
Carry Bag |
Brand: HoverAir |
Follow Settings
The Follow mode doesn’t have to be a standard, eye-level follow shot. Here’s an example using the vertical mount, which was added. By setting the Altitude to Low, you can capture both yourself and the surrounding location for that classic drone look. For a wider perspective, select a far distance; for a more typical view, choose the standard distance.
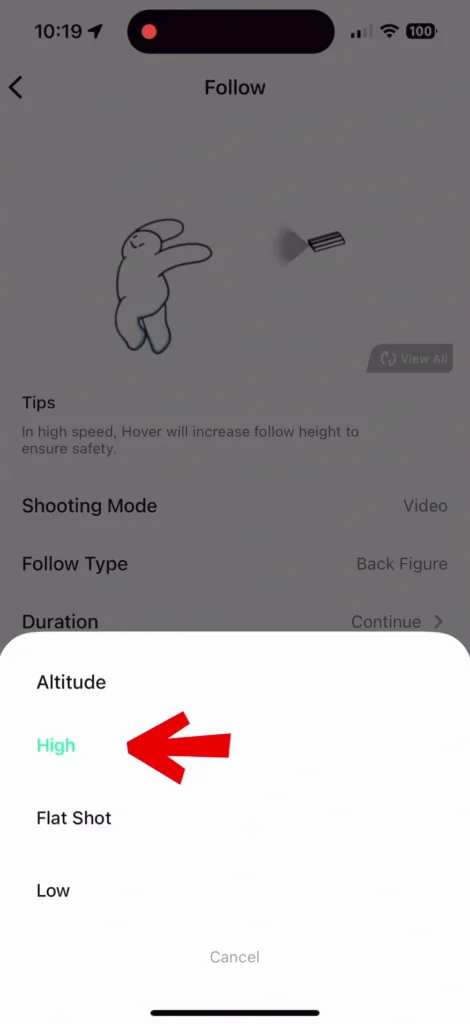
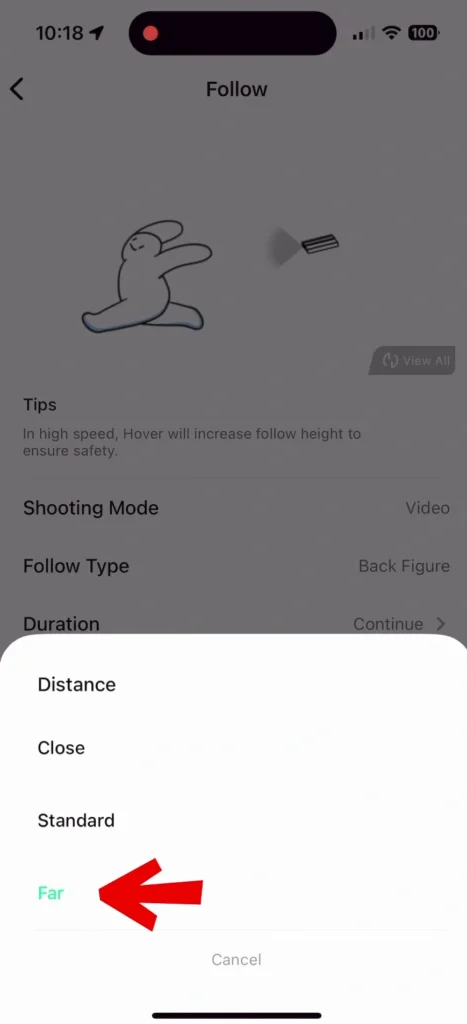
Hover Settings > Flight Settings > Follow > Altitude set to “High”
Hover Settings > Flight Settings > Follow > Distance set to “Far”
You can also lower the altitude by one meter, which works well in open spaces with plenty of sky.
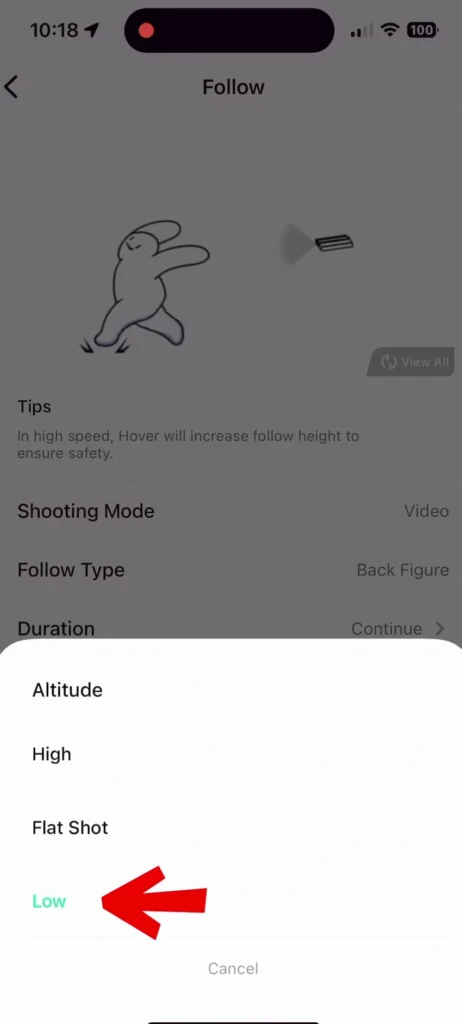
Some may wonder if the drone can keep up with someone on a bike. Yes, it can! The faster you go, the more distance the drone will maintain, and it will adjust if you change directions.
Those who enjoy water sports, keep in mind the drone cannot fly over water.
Dolly Track Settings
The dolly track shot can be enabled under custom mode, where you follow the drone along a straight path. Keep in mind, though, that the shot must stay in a straight line; if you change direction, the hover camera may lose track of you.
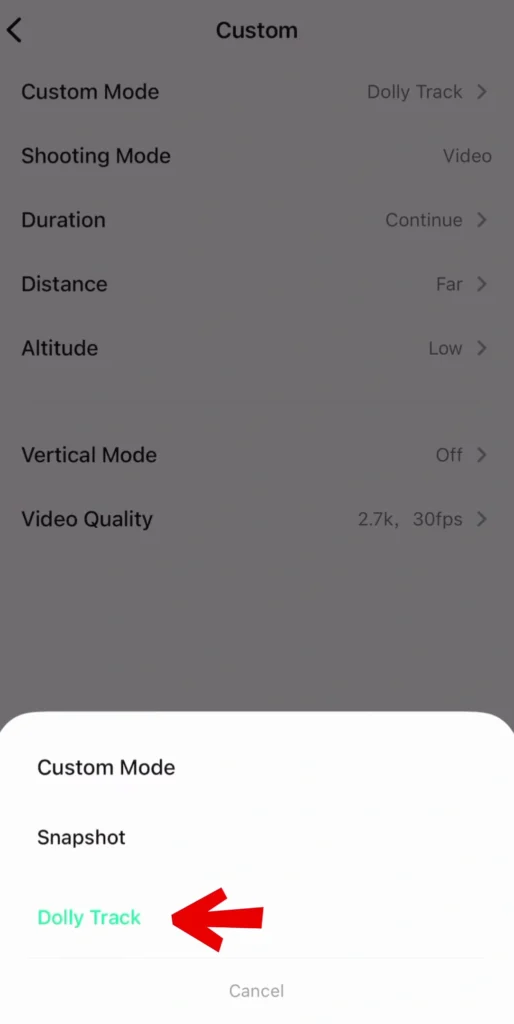
Hover Settings > Flight Settings > Custom > Custom Mode > select “Dolly Track”
To add variety, try adjusting the altitude. Instead of the usual flat angle, experiment with either a lower or higher altitude to capture more of the surrounding location and make the shot more dynamic.
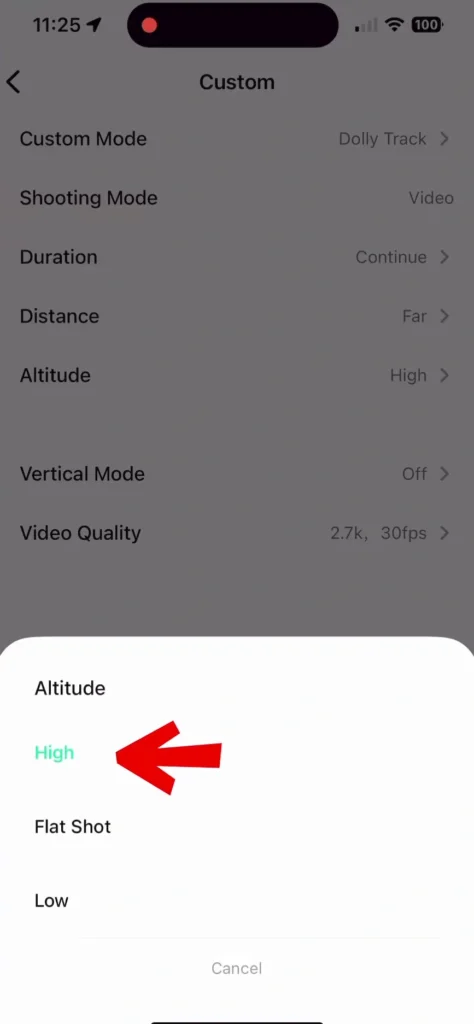
Recommended Accessories
| Image | Product | Features | Price |
|
1
 |
Black Tote Bag |
Brand: HoverAir |
|
|
2
 |
Landing Pad |
Brand: FPVtosky |
Manual Mode
While this camera is primarily designed for selfies, you can capture stunning shots from above if you’re in a beautiful location. Just switch to manual mode and use your smartphone as a joystick.
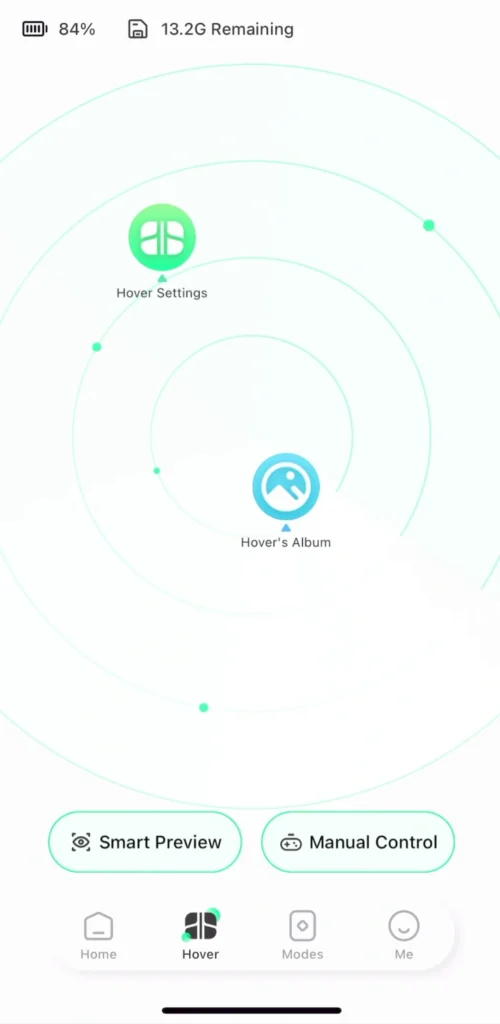
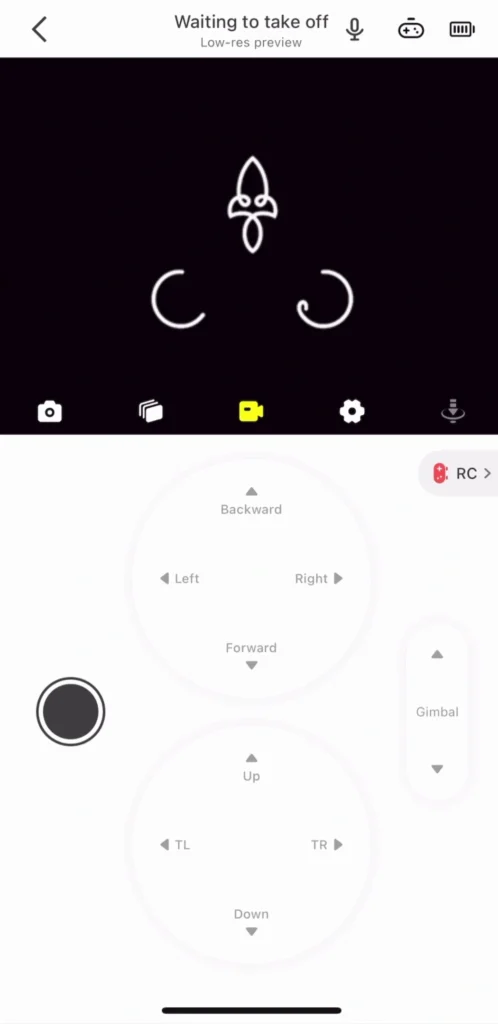
Keep in mind that the drone needs to stay close to your smartphone, as the connection relies on WiFi to preview the shot. You can also adjust the camera angle for added effect. For the best results, move with the drone either forward or sideways to maintain the connection and get the perfect shot.
Read More: 13 Best Settings to Improve DJI Neo Video Quality


