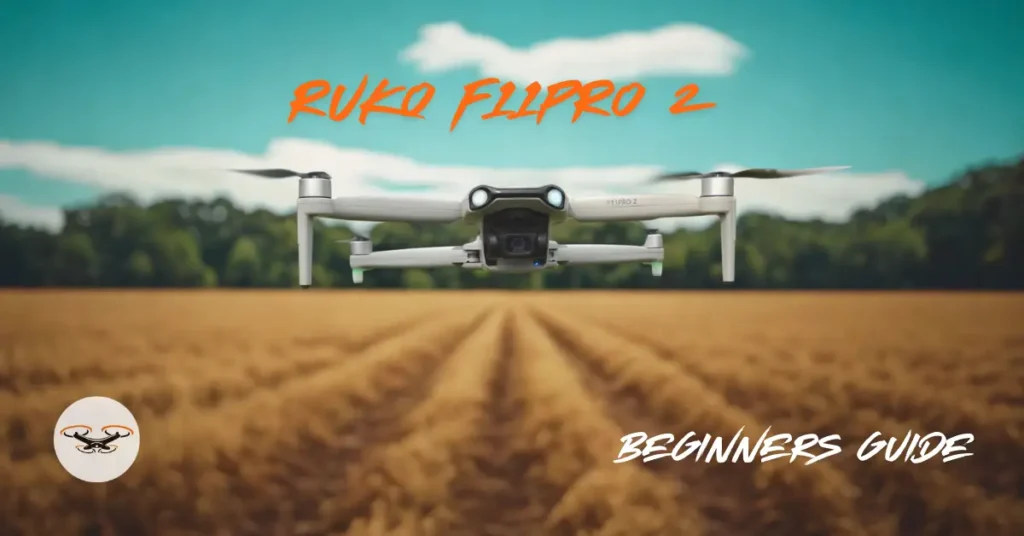
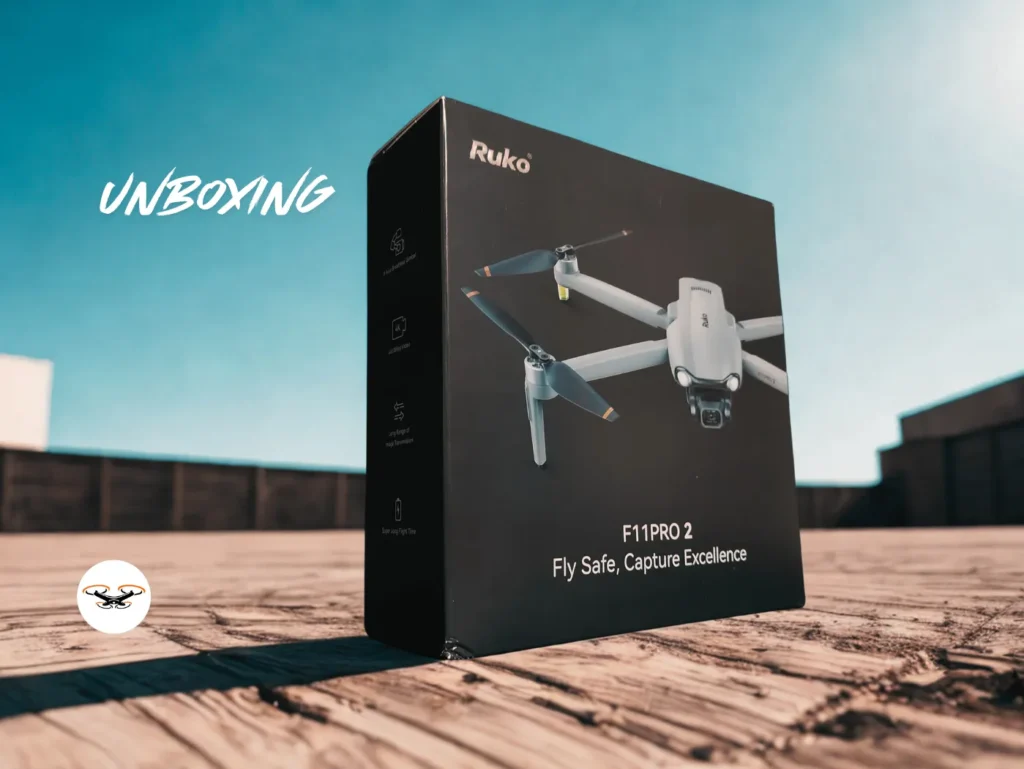
Getting ready to fly your Ruko F11Pro 2 drone? This Ruko F11Pro 2 Beginners Guide will walk you through the entire setup process—from unboxing to takeoff, so you can fly safely and confidently.
Step 1: First Flight Preparations
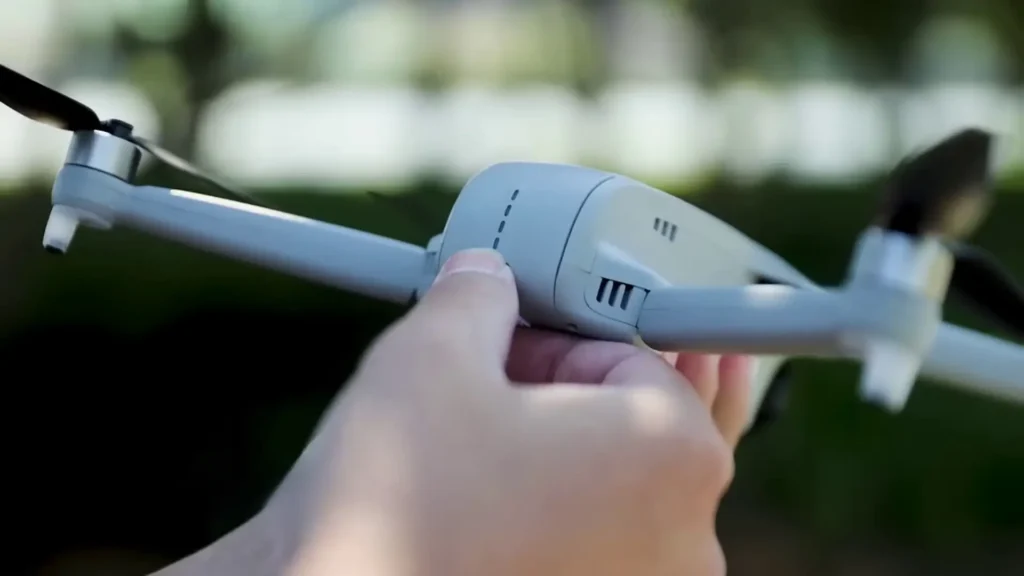
Begin by unboxing your drone and carefully removing it from the packaging. Take off the gimbal cover, unfold the drone arms, and place the drone on a flat, solid surface in an open area free of obstacles. To power it on, press and hold the battery button for three seconds. You will hear a beep and see the lights flashing, which indicates that the drone is turned on. Once powered, the gimbal will automatically perform a self-check.
Step 2: Remote Controller Setup
Next, take out the remote controller and install the joysticks, which are stored at the bottom of the device. Press and hold the power button to switch it on. The controller will beep and automatically attempt to pair with the drone, a process that usually takes around twenty seconds. During pairing, the controller’s display will show “Connecting”, while the drone’s indicator lights will blink yellow until the connection is complete.
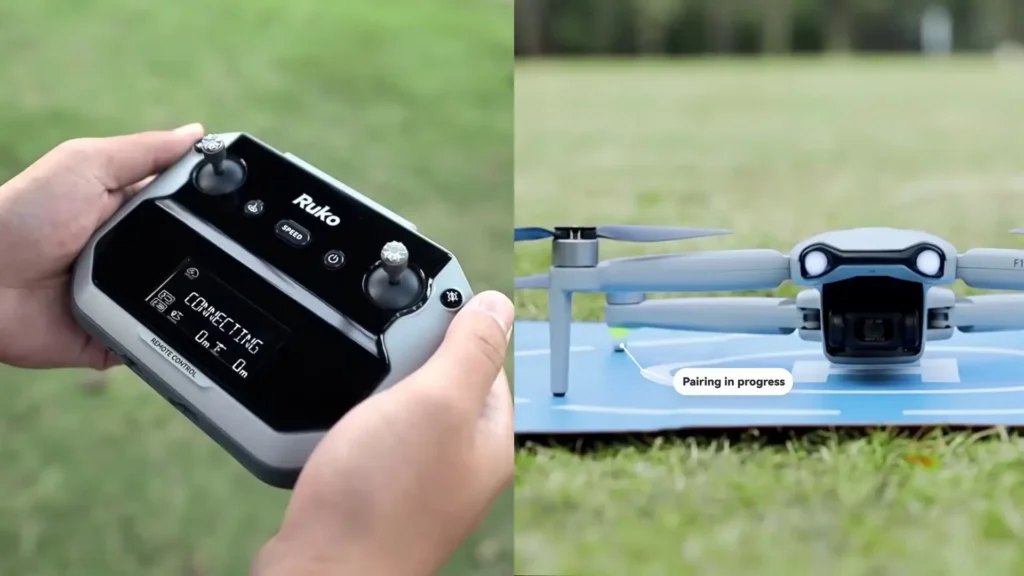
Step 3: Connecting the Remote Controller to Your Phone
To connect your phone, pull up the controller’s phone holder and select the correct data cable for your device, whether it is Micro-USB, Type-C, or Lightning. Plug one end of the cable into the controller’s data port located at the top, and the other end into your phone.
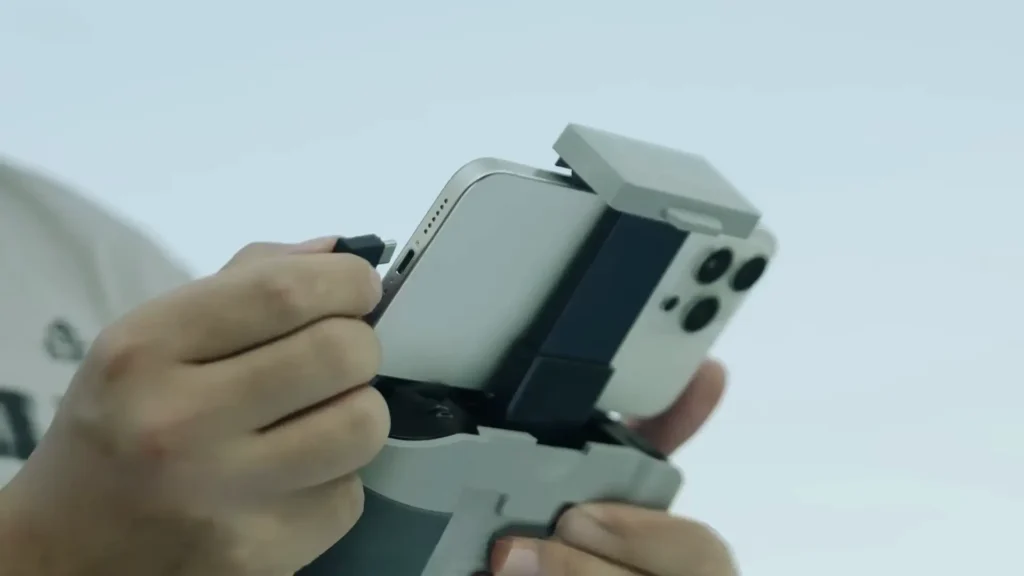
The Type-C port on the side of the remote control is for charging only, not for data connection. Incorrectly connecting here will result in no video transmission.
Step 4: Ruko Mini App Setup
With your phone connected, download and open the Ruko Mini App. The app will request permissions for GPS, photos, and videos, which you should allow. On iOS devices, you may be prompted for your device password, while Android users may need to enable USB Debugging Mode if video transmission does not display correctly. Once permissions are set, tap the control icon in the app to access the interface. A tutorial video is also available within the app to guide you through the basics.
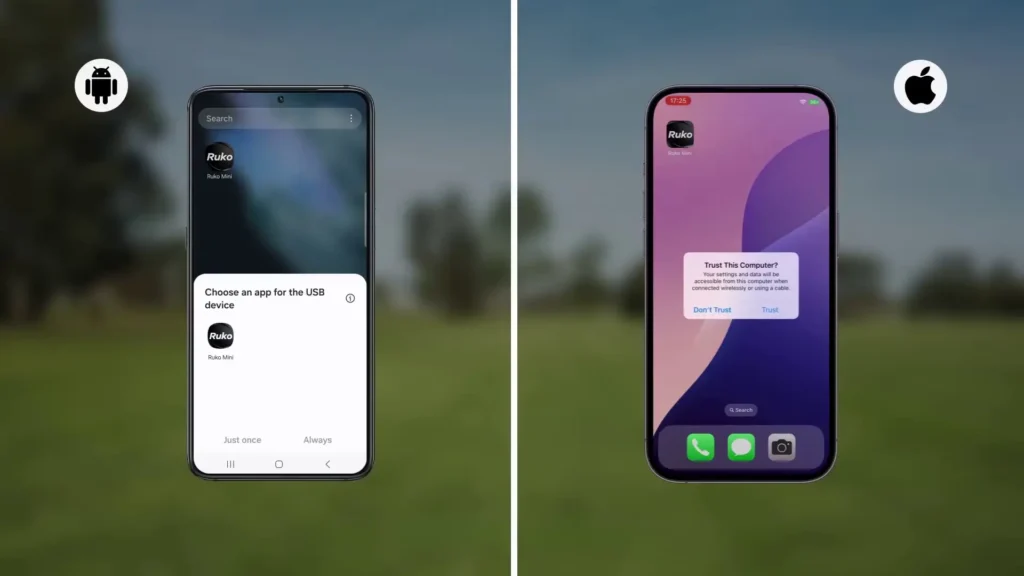
Step 5: GPS Signal Search
When the app is connected, you will be able to see the live video transmission from your drone. Before takeoff, the drone will begin searching for a GPS signal. For safe flight, ensure that you have at least three bars of GPS signal strength. A solid green light indicates that the GPS lock is complete. At this stage, you can also adjust your flight settings in the app and choose whether to fly in Beginner Mode.
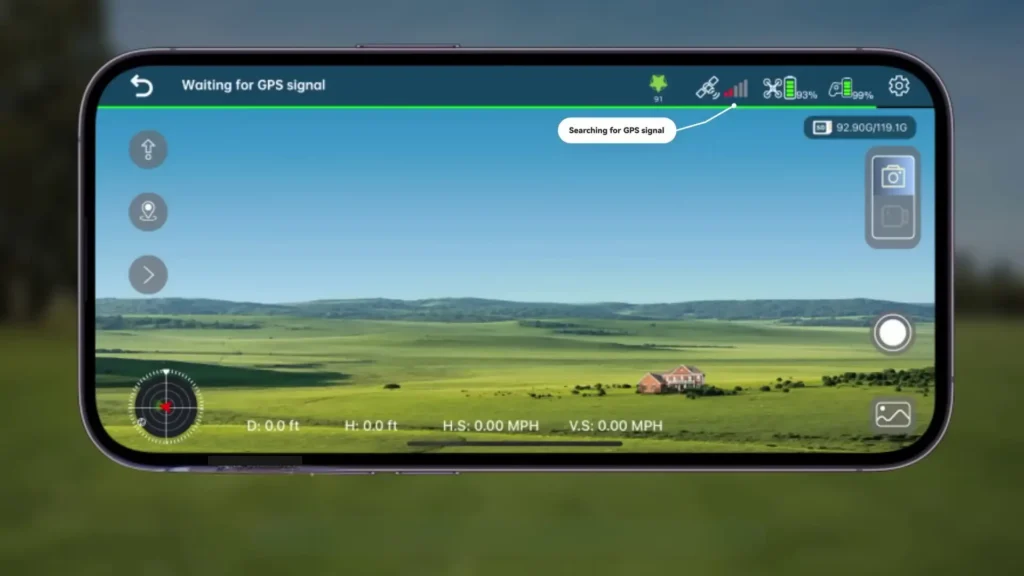
Step 6: Compass & Gyroscope Calibration
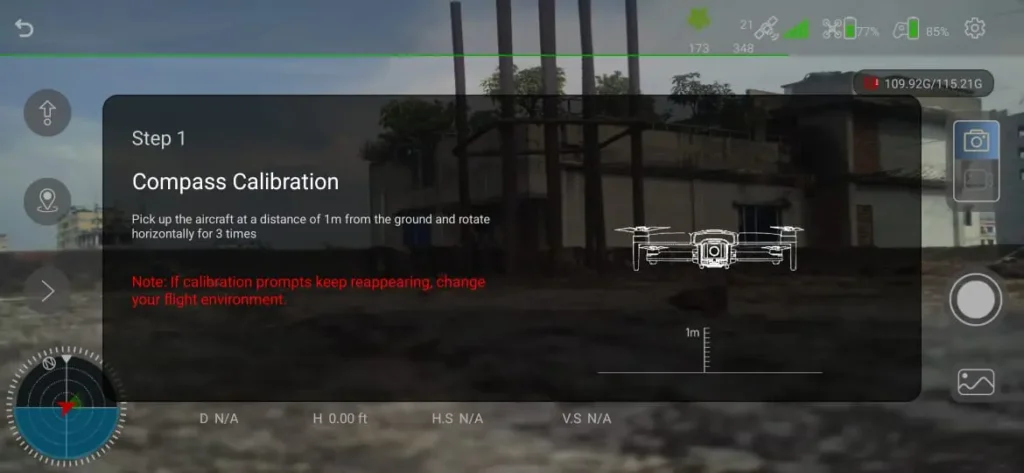
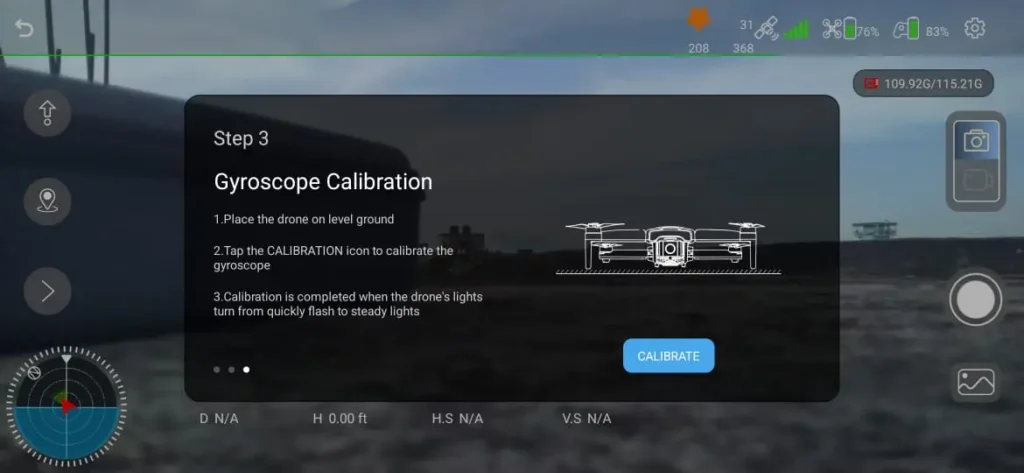
Calibrating the compass & Gyroscope is an essential step before your first flight. On the controller, press the Compass Calibration button, and a set of instructions will appear in the app. To complete calibration, rotate the Ruko F11Pro 2 drone horizontally in a full circle while holding it flat, then point the drone’s nose downward and rotate it vertically in another full circle. Next is gyroscope calibration. Press the calibration button to calibrate the gyroscope. The indicator lights will quickly change to steady to confirm that the calibration is successful.
Step 7: Takeoff
There are three different ways to unlock the motors and take off. The first method is through the joysticks—push both sticks inward to the 5 o’clock and 7 o’clock positions, then push the left joystick upward to launch. The second option is via the Ruko Mini App, where you can tap the Takeoff icon, slide the confirmation bar, and then press Takeoff. The third method is by using the controller’s dedicated Takeoff button: press and hold it once to unlock the motors, and press and hold it again to lift off.
Final Tips & Safety Notes
Before flying, always double-check that your propellers are securely attached and that both the Ruko drone and the controller are fully charged. Avoid flying near people, buildings, or restricted areas, and practice in an open field until you are comfortable with the controls. Beginner Mode is a great feature to use while learning, as it helps limit speed and altitude for safer practice.
Table of Contents
Article Summary
By following these seven steps, you’ll have your Ruko F11Pro 2 Beginners Guide, properly set up and ready for its first flight. Take your time, fly responsibly, and enjoy exploring the skies with confidence.
Read More: Top 10 DJI Mini 5 Pro Accessories


