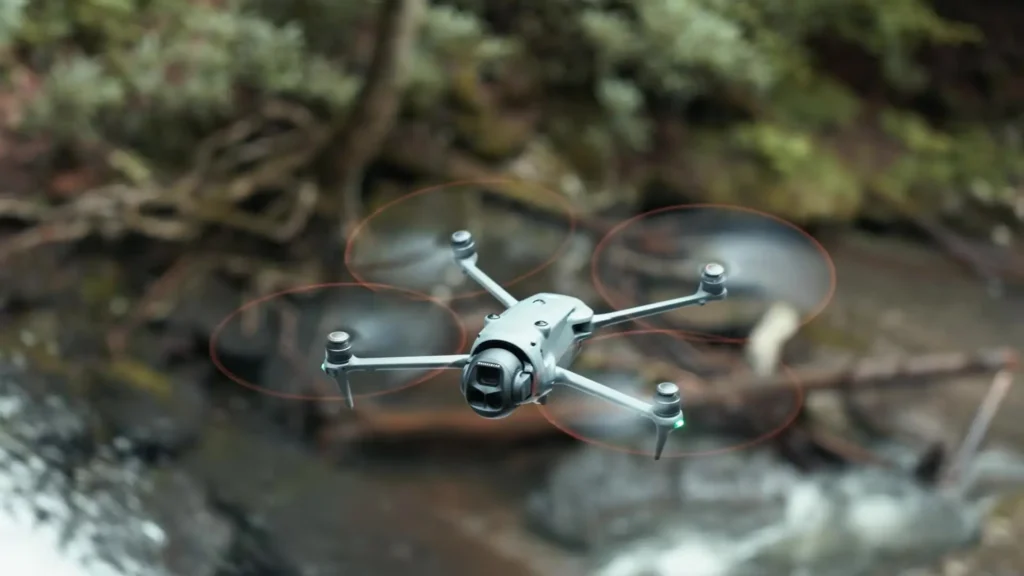
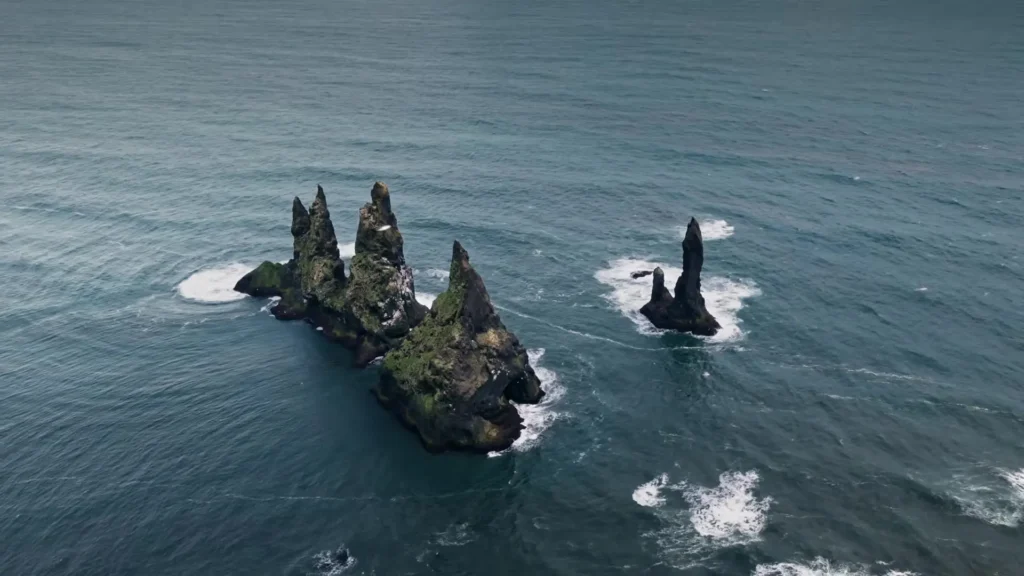
I am headed out in just a couple of days to Iceland for shooting, and right now I am setting up my drone. This one is the Mavic 4 Pro, which is going to be the hero drone for the trip. I will fly it wherever I can, and I thought I would bring you along for the process of getting everything set up before departure.
I already swapped out all the props to get a clean start and took it out for a quick test flight just to make sure it is functioning properly. From here, we will go through the camera settings, menu options, control configurations, and everything else needed to get this drone fully ready for Iceland.
Table of Contents
Camera Settings
To start, we will check the camera settings. We will fine-tune the exposure details once we are actually out shooting, but there are a few things worth setting up now. For white balance, we will keep the tint set to zero so the image does not look off when we first get out there. We can always adjust it in the field.
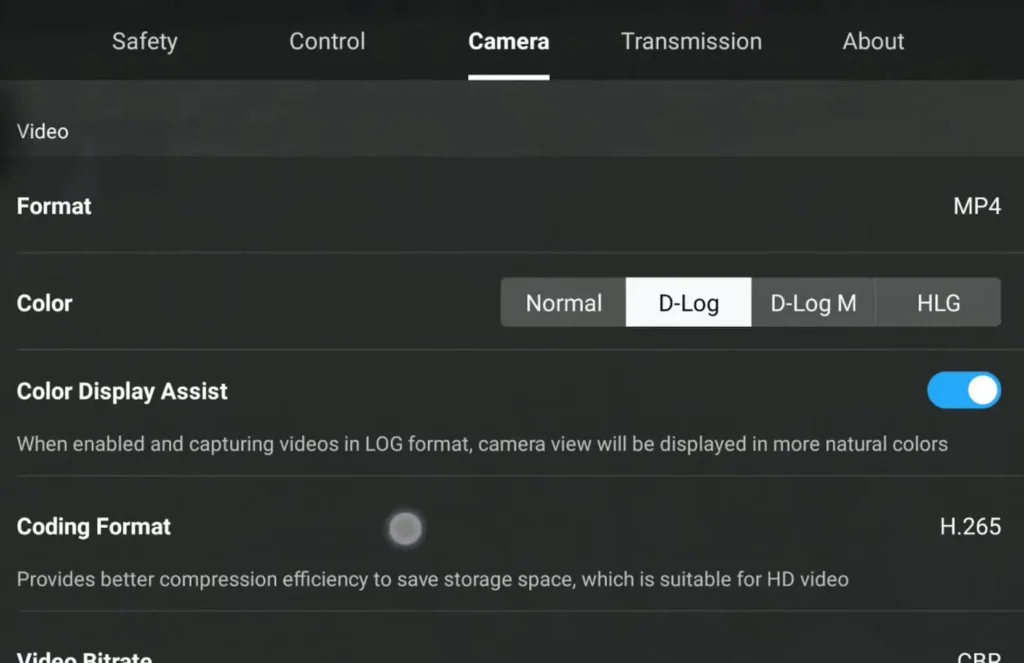
For resolution, we want 6K 60fps. Either D-log or D-log M works great, but for this trip I am planning to shoot mostly in D-log. The reason is simple: D-log gives you better highlight rolloff and a slightly more refined image overall. Yes, it is harder to color grade, but the quality is worth it. There is no SD card in the drone right now, which is perfectly fine for this stage of setup.
Diving Into the Menus
Flight and Safety Settings
The drone is currently in normal mode with obstacle avoidance set to bypass, which is what I usually keep it on. The display radar map is active as it should be. For advanced return to home, I am switching it from optimal over to preset with a return to home altitude of around 400 feet.
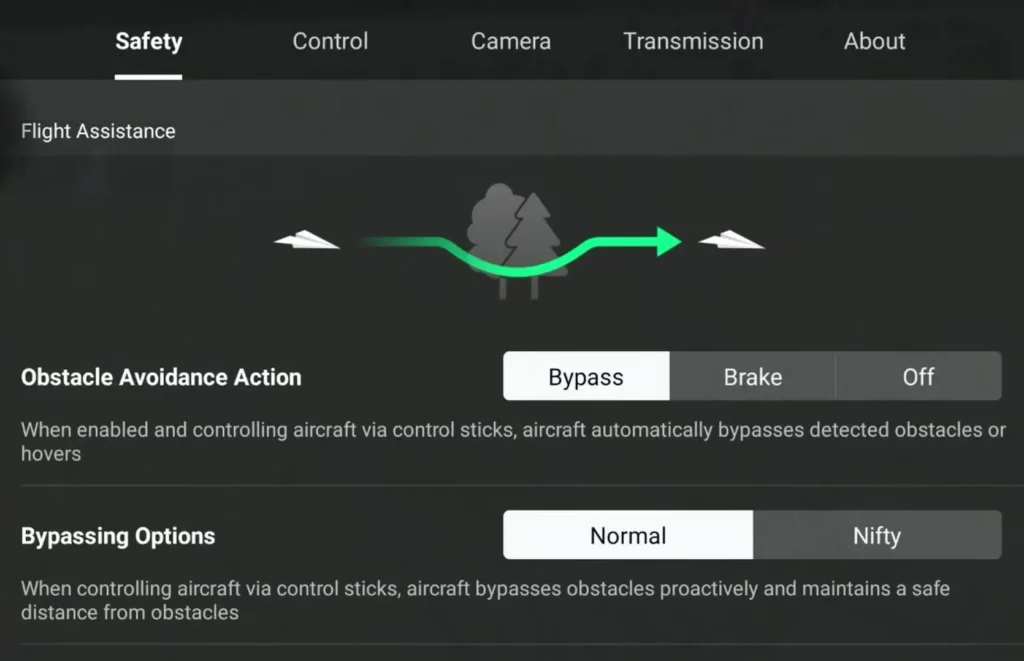
I do not rely on return to home often since I prefer to fly back manually, but in an emergency I would rather have the drone climb straight up instead of trying to navigate obstacles on its own.
All AR settings are turned on, which is exactly where they should be. For max altitude, I am turning it all the way up because there are some mountains in Iceland I might want to fly near, and I do not want to hit any altitude limits unexpectedly. Max distance is set to no limit as well.
There is no need for compass or IMU calibration at this point. I have unfold arms to power on enabled, which is a super handy feature, and fold arms to power off is also turned on. Auxiliary LEDs and aircraft LEDs are both set to auto.
Advanced Safety Settings
Under advanced safety settings, it is important to make sure the option is set to return to home and not descend or hover. If this is set incorrectly, the drone will not return home when it flies out of range. Emergency stop settings remain untouched. Vision positioning and air sense are both turned on as well.
Control Settings
Units and Display
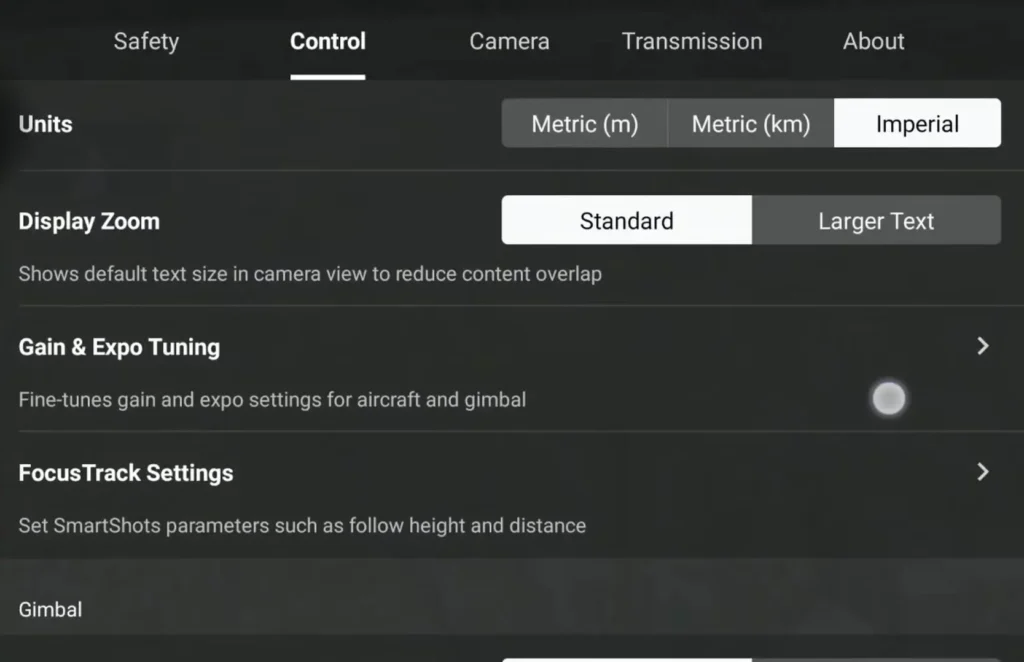
For units, I have it set to feet. Even though Iceland uses the metric system, I am used to feet so I am sticking with it. Display zoom is set to standard.
Gain and Expo Tuning
The gain and expo tuning settings are already configured the way I like them. These settings make a significant difference for cinematic video compared to the stock defaults. If you want to see the specific values I use, you can check out the free settings checklist for the Mavic 4 Pro.
Focus Track Settings
For focus track settings focused on a person, the inner radius is set to 19 feet and the outer radius to 45 feet. I am bumping the inner height up to around 6 to 10 feet from the default. Outer height at 27 feet is fine. Camera motion is set to normal for smoother cinematic movement, and near ground flight is turned off for now but can be enabled later if needed.
For vehicle tracking, the inner radius is being adjusted to around 30 feet and the outer radius to about 100 feet. The inner height is being pulled down to 19 feet and the outer height down to around 60 to 80 feet. Camera motion stays on normal and near ground flight remains off.
Gimbal and Stick Settings
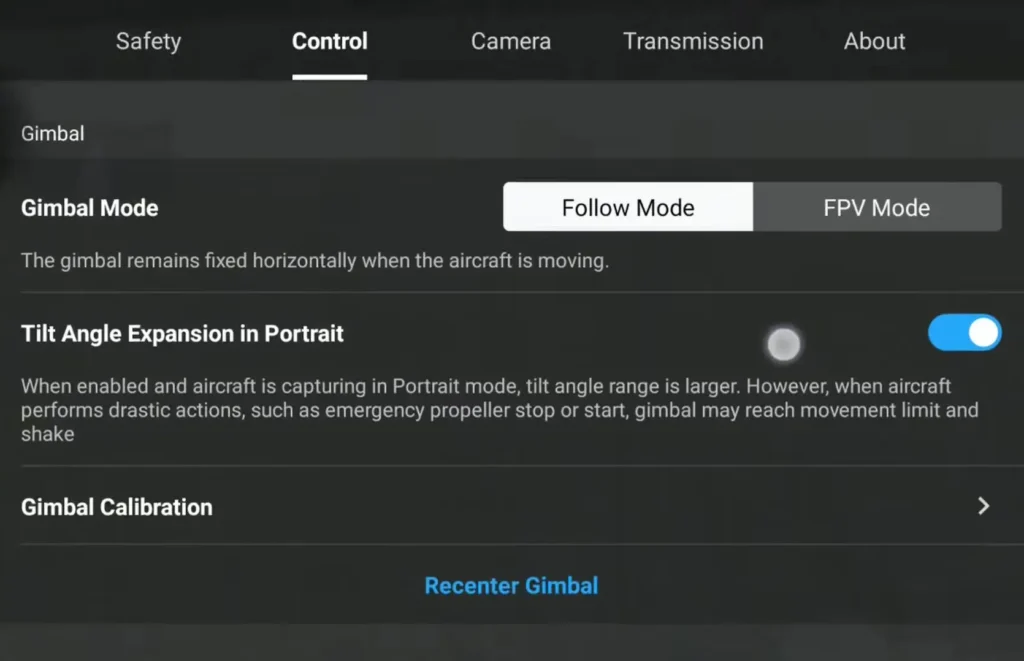
Gimbal mode is set to follow, not FPV mode. Tilt angle expansion is turned on so there is no restriction on how much the camera can tilt, which is especially important for portrait shots. The stick mode is set to mode two.
Button Customization
Button customization is one of the more important parts of this setup. For the C1 button, I have it set to tilt the gimbal down and back up automatically. This is useful because my cinematic scroll speed is set quite slow, so being able to flip the gimbal position quickly without scrolling through manually saves a lot of time. Sometimes I will switch C1 to cruise control, but unless I am actively planning to use it, it stays on recenter tilt down gimbal.
The C2 button is set to switch between the different focal lengths, which is something I do frequently out in the field. The right dial, which was defaulted to zoom, I am switching over to gimbal roll so I can twist the gimbal when needed. I rarely use it, but it is a handy option to have available.
For exposure control, I have C1 plus the right dial set to adjust aperture and C2 plus the right dial set to adjust shutter speed. This allows me to quickly and easily manage exposure on the fly without digging through menus.
Camera Tab Settings
Display and Monitoring Tools
Color display assist is always kept on. Video subtitles are turned on as well, which generates SRT files containing camera settings, drone location data, and other useful metadata that can come in handy during post-production.
Anti-flicker is not being used since we are shooting outdoors. The histogram is turned on so I can monitor exposure at all times. The right side of the histogram shows highlights, the left side shows shadows, and the middle represents midtones. The height of the peak indicates how much data is present in each area. You can drag the histogram around the screen to keep it out of the way of other information.
Peaking level is kept off since I rarely need to manually focus. Overexposure warning is also turned off. I prefer to read my histogram rather than relying on clipping warnings, though it can be useful for those who are just getting started.

Grid Lines and Frame Guide
Grid lines are set to show thirds grid and center marker. The diagonal lines are turned off since I do not find them useful. The thirds grid and center marker are excellent tools for composing shots using the rule of thirds or for precisely centering a subject in the frame. Frame guide is kept off since I am shooting in a standard 16 by 9 aspect ratio.
Color and File Settings
White balance has already been covered. For style, everything is kept at zero since we are shooting in D-log, where these adjustments make very little difference. If I were shooting in a normal color profile, I would typically bring these down to negative two.
Custom folder naming is turned off. For custom file naming, I am adding “Mavic 4 Pro” at the end so I can easily identify which files came from this drone during editing. Cache when recording is turned on, which records backup cache files to the remote controller in case the drone is ever lost.
Max video cache is set to 2GB, and the drone will automatically delete old files as needed. The option to allow quick transfer when the drone is off is also enabled for easy file access.
Transmission Settings
Everything under transmission settings looks good. Dual band channel mode is set to auto, and no further changes are needed there.
Read More: DJI Lito 1 Review – The Best Budget Drone of 2026?