
If you think buying a newer drone will instantly make your drone footage look better, think again. The real problems come down to habits, decisions, and techniques that have nothing to do with the equipment you’re flying.
Once you fix these seven mistakes, you’ll notice a much bigger difference in the quality of your footage than any gear upgrade could ever give you.
Table of Contents
Mistake 1: Jerky and Erratic Flight Movements
This is the mistake that is genuinely painful to watch, and it shows up on social media constantly. People get excited, launch the drone, and immediately start pushing every stick in every direction. One second they’re flying forward, then they yaw left, then they’re climbing, then changing direction entirely, all within the same clip.
It might not look terrible at normal speed, but the moment you speed up the footage, which many people do, it becomes ten times more obvious and ten times worse to watch.
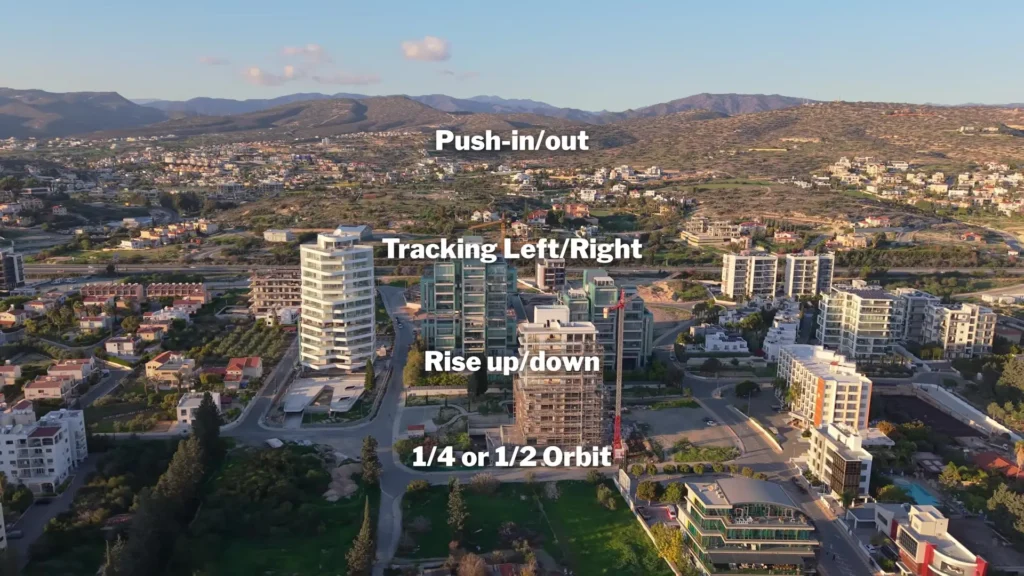
The fix is straightforward. Stop trying to do everything in one shot. Keep your movements deliberate and let the drone do the work. Stick to simple movements such as a push-in or pull-out, tracking left or right, rising or descending, or try a quarter or half orbit.
If you need multiple movements, film them as separate clips and combine them in the edit. Simple, controlled movements will always look more professional than one long erratic flight.
Mistake 2: Filming Without a Clear Subject
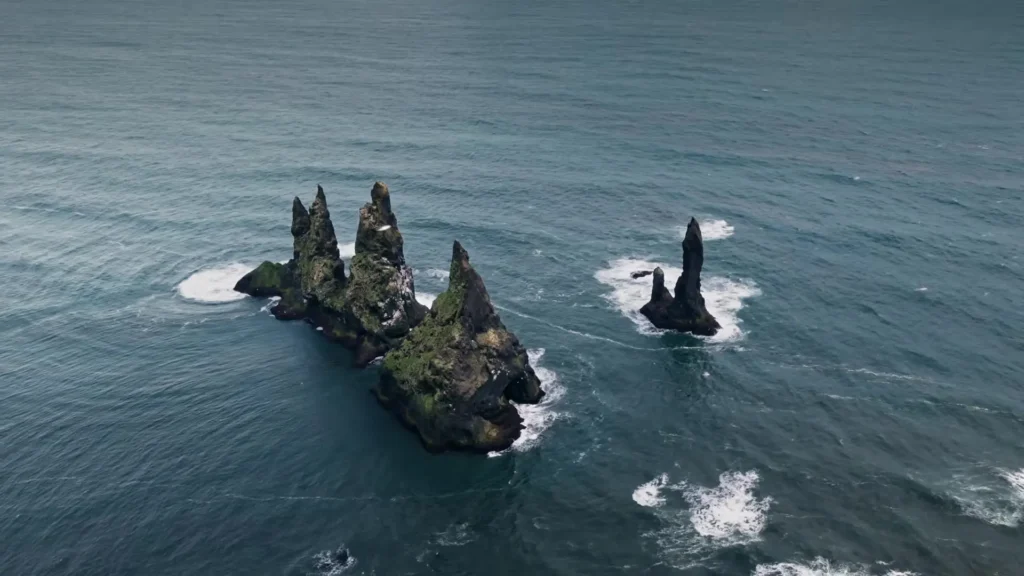
Smooth footage is a great start, but if you have nothing interesting to capture, no one is going to care how smooth your drone footage is. Just because you have a flying camera does not automatically make the shot interesting. Anyone can point a camera at a landscape and press record.
Before you even take off, ask yourself what you are actually trying to show. Is it a building, a landmark, a mountain range, or a person? Once you know your subject, shoot with intention and compose around it.
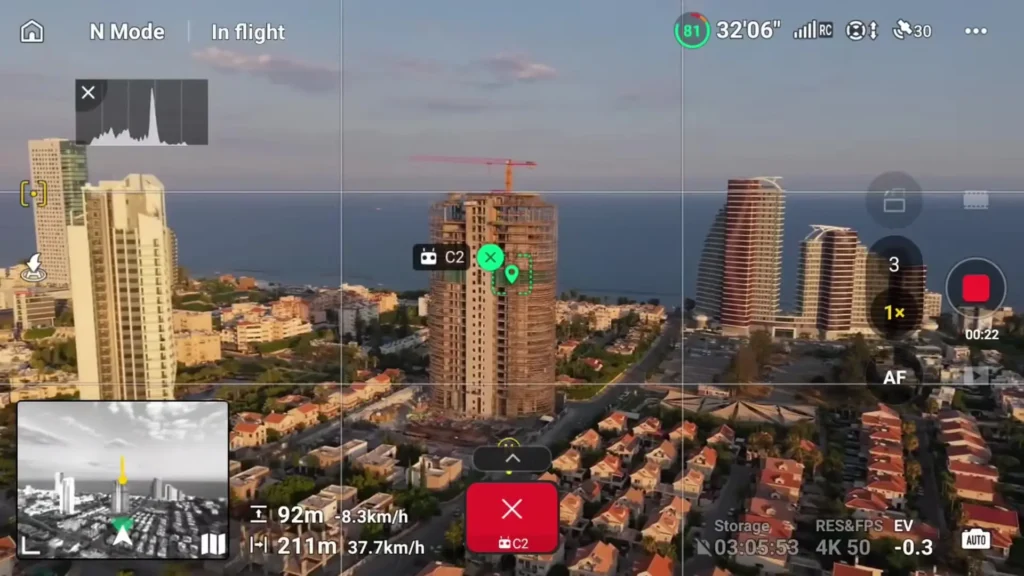
One of the easiest ways to do this is by turning on your grid lines. These are not there to make your footage look professional by default. They are there to help you place your subject thoughtfully.
Should the horizon sit in the middle or along the upper or lower third? Can you frame your subject with a building or a foreground object? Would symmetry make the shot stronger? These small compositional decisions make your drone footage much easier to watch because the viewer immediately knows what they are supposed to focus on.

Mistake 3: Ignoring the Light
This is probably the biggest mistake in the entire list, and it honestly deserves its own dedicated video. Ask any photographer or filmmaker what matters most, the camera, the lens, or the light, and most will tell you it is the light.
Light has a far greater impact on your drone footage than upgrading to the latest model. Shooting a DJI Mini 2 in beautiful golden hour light will produce better results than flying a premium drone in harsh midday sun.
Every location changes throughout the day depending on where the sun is sitting. A mountain, a building, or a beach might look incredible at sunrise but completely flat by the afternoon, or the opposite depending on the direction it faces. The goal is to plan your shots around where the sun will be, not just around when you happen to have free time.
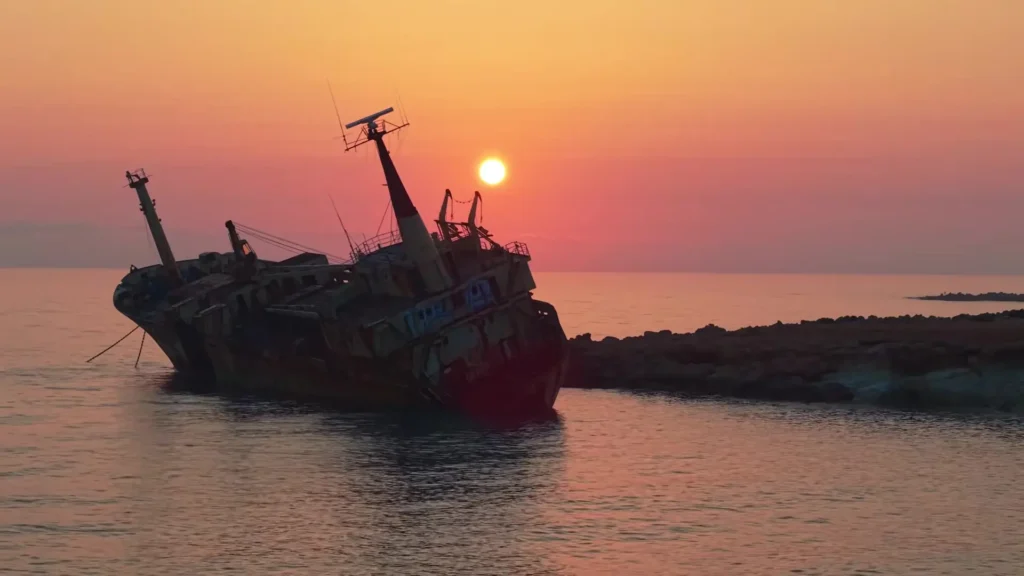
Sunrise and sunset give you the richest colors and also let you create different moods. Shooting with the sun behind you produces warm, evenly lit subjects. Shooting into the sun creates dramatic silhouettes. Neither approach is wrong. It simply depends on the story you are trying to tell.
Midday light is usually the least flattering because the harsh overhead sun creates flat colors and strong shadows. That said, do not let perfect become the enemy of good. If you are traveling or have limited time, a shot captured in average light is still better than no shot at all.
Overcast days are worth mentioning too. They work like shooting under a giant softbox, producing soft and even light. However, that does not always make overcast conditions more interesting than a partly cloudy day where moving clouds add depth and texture to the scene.
Once you start paying attention to light, you will begin looking at every location completely differently. And the best part is that light is free. You cannot control it like you can in a studio, but you can plan around it and show up at the right time.
Also Read : DJI Air 3S Settings Guide for Photo and Video
Mistake 4: Getting Your Camera Settings Wrong
There are thousands of YouTube videos dedicated to the perfect drone camera settings, but the biggest mistake is not choosing the wrong settings. It is letting those settings prevent you from getting the shot in the first place.
Before heading out to film, spend time in an open field dialing in your control settings so your drone flies smoothly. When you are actually out filming, do not overcomplicate things. If your subject is time-sensitive, the light is changing quickly, or you are shooting with a wide-angle lens, do not be afraid to use auto.
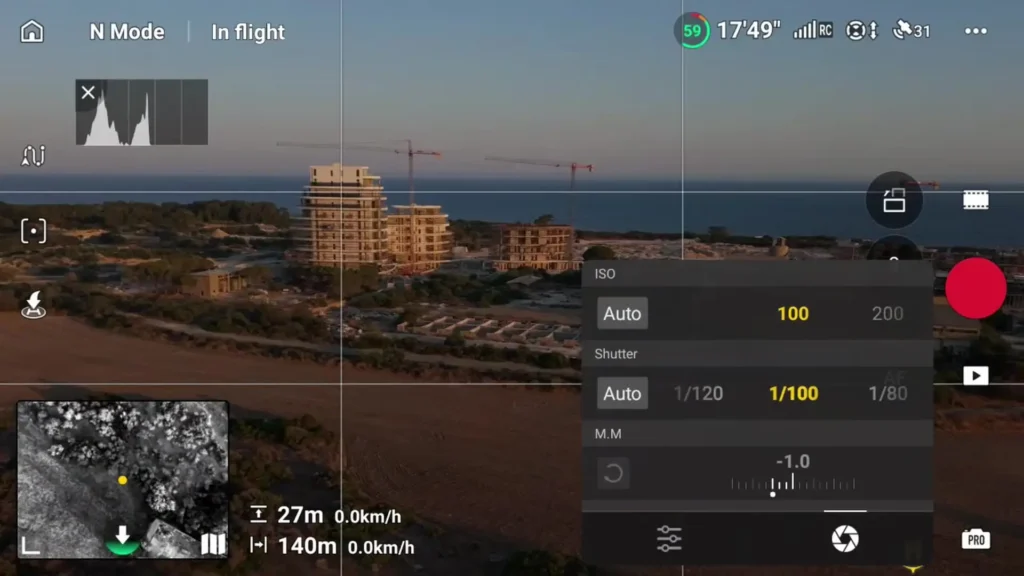
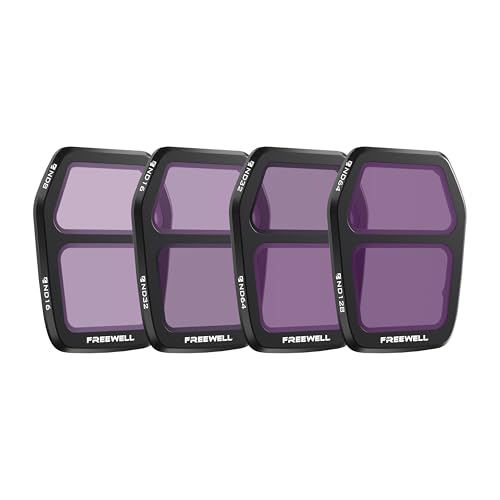
Using an ND filter even when shooting in auto is still recommended, and keeping your exposure value around minus 0.3 helps protect the highlights while you assess the scene.
If the scene is more controlled and the light is not changing, then manual mode makes more sense. One common trap that many pilots fall into, including experienced ones, is heading out the next day without resetting the previous session’s settings. You hit record and suddenly realize you are shooting at ISO 1600 in broad daylight or using the wrong shutter speed simply because you forgot to reset.
A simple process works well here. Choose your frame rate first, set your shutter speed to double that, and keep an eye on your ISO if you are shooting in auto. Also lock your white balance by letting it auto-detect and then switching it off so it stays consistent throughout your clip.
Do not get caught chasing perfect camera settings while the moment disappears. A shot captured in auto is far better than a missed shot spent tweaking settings. The more you practice, the more natural these decisions become.
Mistake 5: Flying Without Any Plan
Not having a plan does not mean you need a full storyboard before every flight. It can be as simple as having a basic shot list in your head before you take off. The more consistently you do this, the more natural it becomes, and eventually you will be able to create a strong sequence even on spontaneous flights.
Before launching, take just 30 seconds to stop and look around. Ask yourself what your point of interest is, where the light is coming from, and which angle looks the most compelling. This alone saves valuable battery life because you are thinking before you are flying.
Once you have identified your subject, work through a simple sequence. Start with an establishing shot, move into a push-in or a reveal, add a tracking shot or an orbit, include a low tracking clip, and finish with a pull-away.
Even if you do not use every clip, you have captured a complete visual story rather than a random collection of unrelated shots. Those clips can work together in an edit, or you can sell them individually on stock footage websites.
Think of your drone like any other camera. Before photographers press the shutter, they compose the image in the viewfinder. Do the same with your drone before you hit record.
Mistake 6: Skipping the Color Grade
By this stage, you are probably capturing some genuinely good drone footage. But sometimes it still looks a little ordinary and blends in with everyone else’s content.
There is nothing wrong with using the normal color profile, but if you want your footage to stand out, consider shooting in D-Log or D-Log M. These profiles preserve more dynamic range and give you far more flexibility when color grading in post-production.
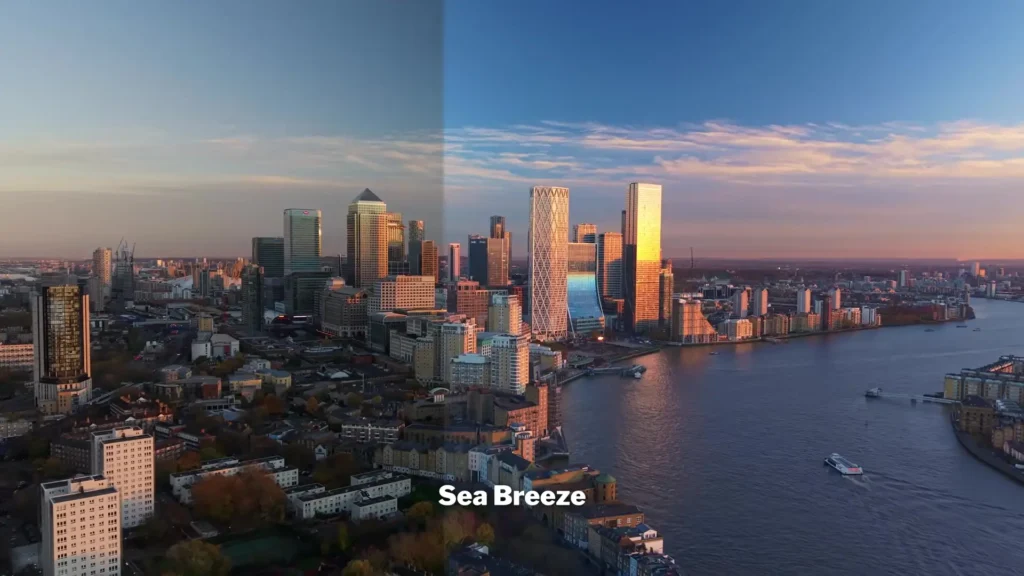
Color grading does not have to be complicated. Sometimes all it takes is making the image slightly brighter, adding a touch of contrast, and giving the colors a subtle boost. Other times you might want to create a completely different mood, whether that is a warm golden tone or a cooler, more dramatic look.
The goal is not to make the colors unrealistic but to enhance what you captured and support the story you are trying to tell.
If you do not want to learn color grading from scratch, LUTs are a great shortcut and can save significant time. There are plenty available online, and if there is a creator whose visual style you admire, buying their LUTs not only saves you time but also supports the work they produce.
Whether you use a LUT or develop your own look, never ignore color. It is often the final step that takes drone footage from looking good to looking genuinely memorable.
Mistake 7: Always Flying Too High
Just because your drone can fly high does not mean every shot should be captured from altitude. High shots definitely have their place, particularly for establishing a location or showing the scale of a landscape. But if every single shot in your drone footage is from high up, the overall result starts to feel flat and disconnected.
Try bringing the drone lower. Suddenly you are introducing foreground and background elements that create depth and make each shot feel far more dynamic. Using the composition principles mentioned earlier, you can frame buildings, trees, and other objects to naturally guide the viewer’s eye through the scene.
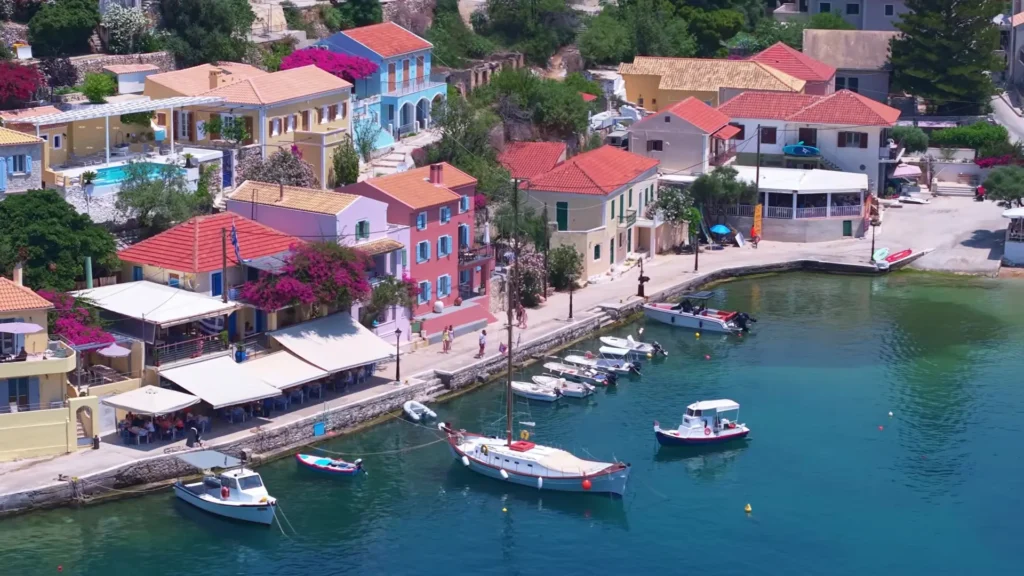
Flying lower also gives the viewer a chance to explore the location rather than simply looking down on it. They are traveling through the scene and noticing details that are completely invisible from higher elevations.
A practical approach is to film at three different altitudes during each session, one low, one medium, and one high, and then compare all three when you get home. You might be surprised by how often the lower shot ends up being the one you choose to keep.
The Biggest Takeaway
If you made it through all seven mistakes, you will have noticed that not one of them required you to buy a new drone. That is the point. The biggest improvements in drone footage do not come from the drone itself. They come from you as the pilot.
A newer, more expensive drone can still capture mediocre footage. An older drone like the Mini 2 can capture footage that outperforms a premium model if the pilot understands light, composition, movement, and planning.
Everyone makes mistakes, and that includes experienced pilots. But it is the mistakes you learn from that push your skills forward. The only way to improve is to get out and fly.
Read More: 28 Must-Know Tips & Settings for DJI Neo 2 (Part 1)